How to Make a Simple Helicopter That Fly for Kids: Easy DIY Guide

Have you ever watched your child’s eyes light up at the sight of a flying toy? Imagine the thrill on their face when they realize they can make one themselves!
Introducing your kids to the art of building a simple helicopter that flies can be an exciting and educational adventure. It’s not just about crafting a toy; it’s about sparking creativity, encouraging problem-solving, and fostering an interest in science.
You don’t need a degree in engineering to help your child make this project come to life. With just a few basic materials and straightforward steps, you can guide your little ones in creating their very own flying helicopter. This activity promises more than just fun—it could be the beginning of a lifelong passion for invention and discovery. Are you ready to see your child’s imagination soar?
Let’s get started!
Materials Needed
Crafting a simple helicopter requires basic materials. Gather paper, scissors, a paperclip, and rubber bands to get started. These items help create a fun flying toy for kids.
Creating a simple helicopter that can fly is a fantastic project for kids. It’s an exciting way to learn about physics and engineering while having fun. Before you start crafting your helicopter, you need to gather some basic materials. The right materials will make your helicopter not only fly but also sturdy and safe for kids to handle.
Having the right materials on hand ensures the project goes smoothly. Below are the materials you’ll need:
1. Paper Clips
Paper clips are crucial for forming the body of your helicopter. They are easy to bend and lightweight, making them perfect for creating the structure.
2. Rubber Bands
Rubber bands provide the necessary tension to propel your helicopter into the air. Choose rubber bands that are not too thick or too thin for optimal performance.
3. Card Stock
Cardstock is essential for crafting the rotor blades. It’s sturdier than regular paper but still light enough to allow your helicopter to lift off.
4. Tape
Tape is used to secure the parts together. Transparent tape works well, but you might want to use colored tape for a fun, personalized touch.
5. Scissors
Scissors are needed to cut the cardstock into the shape of rotor blades. Please make sure they are sharp enough to cut cleanly, but safe for children to use.
6. Ruler
A ruler will help you measure the cardboard accurately, ensuring that your rotor blades are symmetrical and balanced.
7. Pencil
A pencil helps mark measurements and design your helicopter before cutting. It allows for adjustments without permanent marks.
8. Optional Decorations
Optional decorations such as stickers or markers can add a personal touch to your helicopter. Encourage kids to let their creativity shine. Have you ever considered how simple materials like paper clips and rubber bands can create a flying machine? It’s amazing what you can achieve with everyday items.
With these materials ready, you’re all set to build a simple helicopter that kids will adore. Are you excited to see your creation take flight?
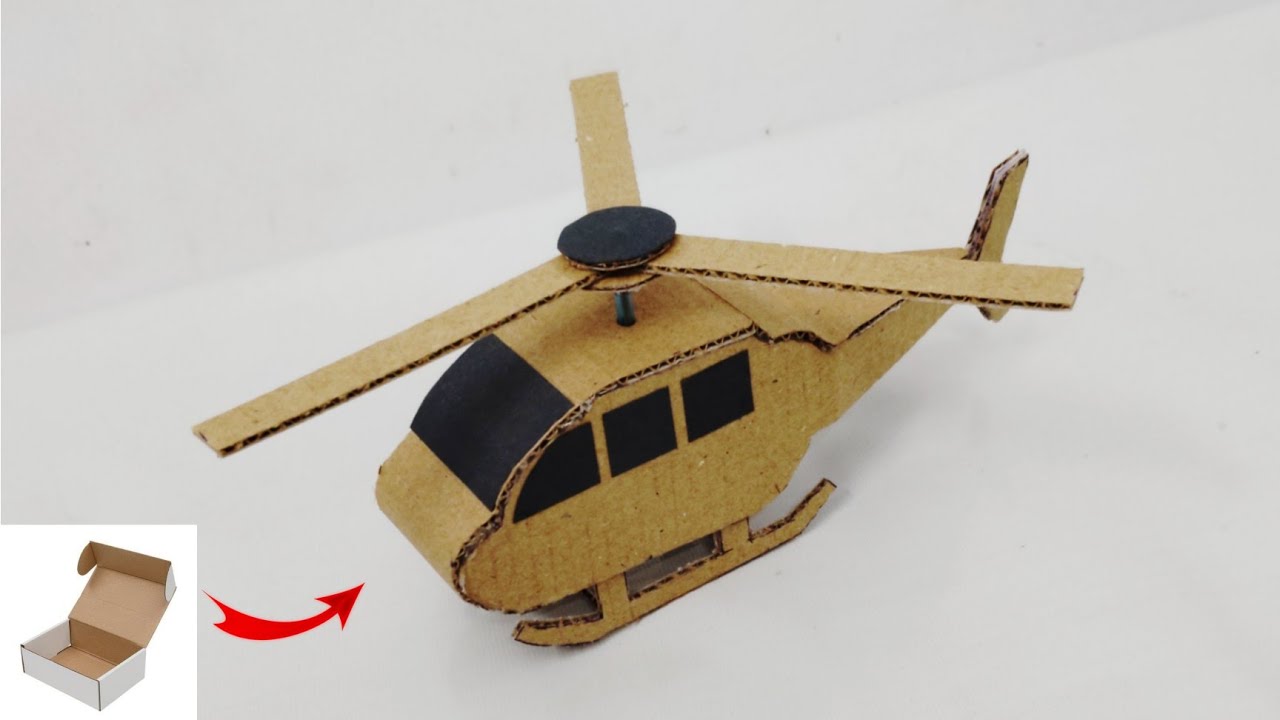
Credit: www.youtube.com
Choosing The Right Design
Choosing the right design is crucial for making a simple helicopter that flies for kids. Focus on lightweight materials and a balanced structure to ensure smooth flight. A well-designed rotor can make it easier for children to build and enjoy flying their creations.
Choosing the right design for a simple helicopter that flies can spark creativity and excitement in kids. It’s not just about putting pieces together; it’s about understanding what makes a helicopter soar. Selecting the right design is crucial, as it determines how well your helicopter will perform in the air. Think of it as the blueprint for your aerial adventure.
Understanding the basics of helicopter design can be a fun learning experience. Kids can grasp the concept of balance and aerodynamics through this hands-on project. Engaging with these principles early on can ignite a lifelong interest in engineering and science.
Understanding Aerodynamics
Aerodynamics plays a key role in how your helicopter will fly. It’s about how air moves around the aircraft and affects its movement. When designing, consider how the blades will slice through the air. The shape and angle of the blades can impact lift and stability.
Have you ever wondered why some paper helicopters spin faster than others? It often comes down to these aerodynamic principles.
Materials Matter
The materials you choose will significantly affect your helicopter’s performance. Lightweight materials like paper or thin plastic are ideal. They allow for better lift and longer flight times.
Have you ever tried using heavier materials and noticed your helicopter didn’t fly as well? This is because heavier materials require more lift to stay airborne.
Simple Vs. Complex Designs
Start with a simple design, especially if this is your first attempt. Simple designs are easier to build and test. They also make it easier to understand what works and what doesn’t.
As you gain confidence, you can experiment with more complex designs. How adventurous do you feel about pushing the limits of your design skills?
Blade Length And Shape
Blade length and shape are crucial for flight efficiency. Longer blades can help create more lift, but they also need to be appropriately balanced. If the blades are uneven or too short, the helicopter might not fly well.
Have you noticed how some helicopters spin more smoothly than others? Often, it’s due to the careful consideration of blade design.
Testing And Tweaking
Once your design is ready, it’s time to test it. Launch your helicopter and observe its flight. Does it spin too quickly? Does it fall too fast? These observations can guide any necessary tweaks. Testing is not just a step; it’s a learning process. How will you improve your design based on what you see?
Choosing the right design involves more than just assembly. It’s about understanding how each decision affects flight. By engaging with these concepts, you and your kids can create a helicopter that truly soars.
Preparing The Propeller
Crafting a simple helicopter for kids involves preparing the propeller with care. Securely attach blades to ensure they spin smoothly. Keep the design lightweight for better flight performance.
Preparing the propeller is a crucial step in crafting a simple helicopter that can fly. It’s where the magic happens, turning the energy you provide into lift. This part of the project is both fun and educational, allowing kids to see physics in action. The process is straightforward, but requires attention to detail to ensure your helicopter soars smoothly.
As you prepare the propeller, think about how each minor adjustment might impact the flight. This hands-on experience can be a gateway to understanding aerodynamics for budding young engineers.
Understanding Propeller Dynamics
A propeller is like the engine of your helicopter. Its shape and movement create lift. Think of it as the wings of a bird that push against the air to fly. The key is in the angle and speed at which it spins. Experiment with different angles to see how they affect flight. Encourage kids to ask questions: What happens if the propeller spins faster?
How does changing its shape alter its performance?
Choosing The Right Materials
Selecting the right materials for your propeller is essential. Lightweight materials like plastic or balsa wood are great choices. They are easy to work with and help keep the helicopter light.
Consider using recycled materials for an eco-friendly twist. This not only teaches sustainability but also shows how everyday items can be transformed into something exciting.
Crafting The Perfect Shape
The shape of your propeller will influence how well your helicopter flies. A simple design can be crafted using scissors and cardboard. Cut the cardboard into two blades and attach them in a cross shape. This classic design helps distribute weight evenly and provides stability during flight.
Balancing The Propeller
Balance is key to a successful flight. An unbalanced propeller can make your helicopter wobble or spin uncontrollably. Use a pencil to test the balance by placing the center of the propeller on it.
If one side tips, trim a little off until it stays level. This step teaches precision and patience, qualities that are important in engineering.
Attaching The Propeller To The Helicopter
Once balanced, it’s time to attach the propeller to the helicopter. Use a strong glue or a small screw to secure it to the rotor. Make sure it’s tight, but not too tight to allow for smooth rotation.
This is where everything comes together. With the propeller in place, your helicopter is ready to take its first flight. Are you prepared to see your creation soar?
Crafting The Rotor Blades
Creating rotor blades is crucial for a simple helicopter model. The blades help the helicopter lift and spin. This part of the project is fun and creative. Kids can learn about aerodynamics through this activity. Let’s make the rotor blades step by step.
Materials Needed For Rotor Blades
Gather all the materials before starting. You’ll need sturdy paper or thin cardboard. Scissors and a ruler are essential tools. A pencil and tape will help in assembling. These items are usually found at home.
Cutting The Rotor Blades
Begin by cutting two strips of paper. Each strip should be about 6 inches long and 1 inch wide. Use the ruler for straight lines. Precision helps the blades work better. Neat cuts ensure smooth spinning.
Shaping The Rotor Blades
Next, shape the blades by folding them. Fold each strip in half lengthwise. This fold creates a crease. It helps the blade maintain its shape. Proper shaping enables the helicopter to fly more efficiently.
Assembling The Rotor Blades
Attach the blades with tape. Cross one blade over the other. Secure them at the center with tape. Ensure they are balanced. Balanced blades spin evenly, enabling the helicopter to fly smoothly.
Assembling The Body
Creating a simple helicopter that flies can be a fun project for kids. The central part of the helicopter is the body. Assembling the body requires basic materials and steps. This section will guide you through building a sturdy helicopter body. Make sure you have all materials ready before starting. Let’s dive into the steps!
Gather all the materials for the helicopter. You will need a plastic bottle, scissors, tape, and a small motor. These items are easy to find at home or a local store. Ensure the plastic bottle is clean and dry. A small motor can be from an old toy.
Preparing The Bottle
First, take the plastic bottle and remove the label. Cut the bottom of the bottle with scissors. This will be the base of your helicopter. The bottle should be smooth and even. Use tape to cover any sharp edges.
Attaching The Motor
Place the motor on top of the bottle. Secure it with strong tape. Ensure the motor wires are accessible for later steps. The motor should be stable and not wobble. It is the heart of your helicopter.
Adding Stability
For stability, attach small weights to the base. This helps the helicopter stay balanced. Coins or small stones work well. Evenly distribute the weights around the base. This will ensure a smooth flight.
Finalizing The Body
Check that all parts are securely attached. The bottle should be firm and not tilted. Test the stability by gently shaking the helicopter. If all parts are stable, your helicopter body is ready. Now you can move on to adding blades and testing your creation!
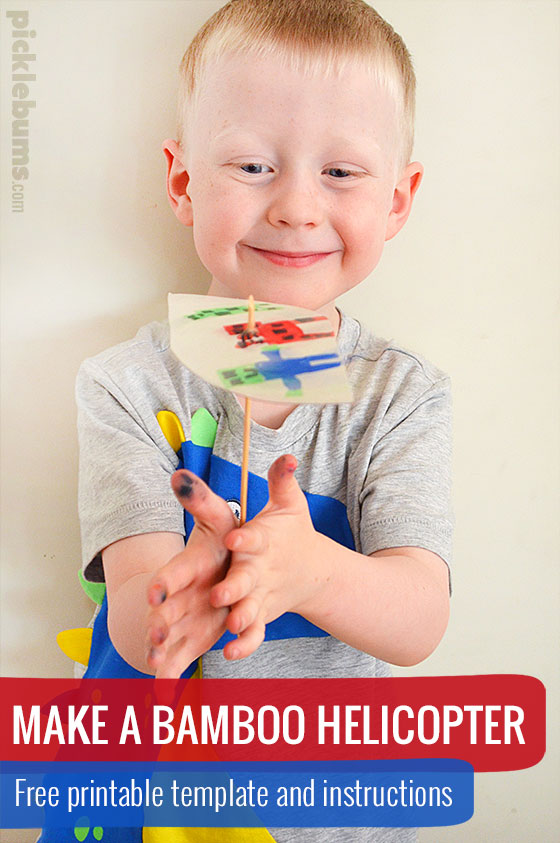
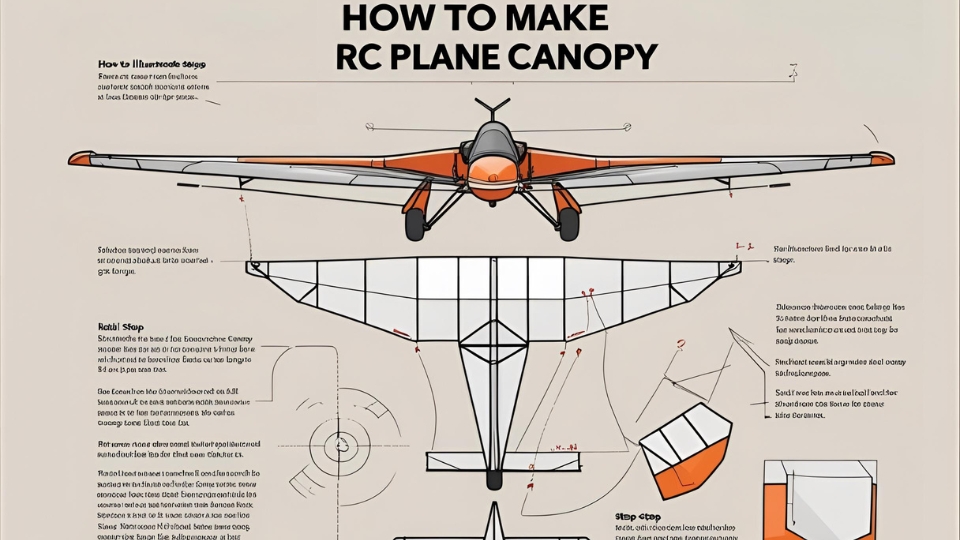
Credit: picklebums.com
Attaching The Rotor
Attaching the rotor is crucial for making a simple helicopter. Ensure the rotor blades are securely connected to the motor shaft. This allows the aircraft to achieve stable lift and flight, enabling kids to enjoy the experience.
Attaching the rotor to your homemade helicopter is where the magic happens. Without a properly attached rotor, your helicopter will remain grounded. This step is essential in ensuring your creation takes flight, sparking excitement and curiosity in young minds.
Understanding The Rotor’s Role
The rotor is the hero of your helicopter. It’s the spinning part that lifts it into the air. Kids are often amazed by how this simple component can defy gravity. Explaining the rotor’s role can make the building process educational and fun.
Gathering The Materials
You’ll need a few basic items: a straw, a rubber band, and a pair of scissors. These materials are easy to find and safe for kids to use. When you have everything ready, you’re set to start assembling.
Attaching The Rotor To The Helicopter
Start by cutting the straw into two pieces. The first piece will be the rotor, while the second will act as the helicopter’s body. Attach the rotor piece to the body using the rubber band. Make sure it’s tight but not too tight; flexibility is key for spinning.
Testing The Rotor’s Spin
Hold the helicopter by its body and give the rotor a gentle flick. Does it spin freely? If not, adjust the rubber band or straw position. A freely spinning rotor is crucial for flight. Testing and tweaking can also be a fun part of the process.
Encouraging Creativity And Experimentation
Let kids experiment with different straw lengths and rubber band tightness. Encourage them to ask questions: What happens if the rotor is too loose? Can we make it spin faster? This hands-on learning fosters creativity and problem-solving skills.
Safety First
Always supervise young children during this activity. Ensure they use safety scissors and handle materials carefully. Safety should always be a priority, transforming this activity into a safe and educational experience.
By following these steps, you can help kids create a simple helicopter that flies, igniting their passion for discovery and innovation. Why not challenge them to design their rotor variations next?
Balancing The Helicopter
Crafting a simple helicopter involves balancing its design for optimal flight. Children can create a basic helicopter using lightweight materials like paper and straws. Adjusting the rotor blades helps achieve steady flight and sparks curiosity in young minds.
Balancing a simple helicopter is both fun and educational. Kids learn about physics in a hands-on way. A well-balanced helicopter flies smoothly. It’s essential for success. Children can easily grasp this concept. Let’s explore the steps for balancing the aircraft effectively.
Understanding The Center Of Gravity
The center of gravity is crucial for balance. It’s the point where the weight is even. A helicopter with a balanced center flies better. To find this, hold the aircraft horizontally. Check if it tilts to one side. Adjust parts to make it level. This small change can make a big difference.
Adjusting The Blades
Blades play a significant role in flight. They need to be equal in size and weight. Uneven blades cause wobbling. Use paper or light plastic for blades. Ensure each side is the same length. Test the helicopter after adjustments. It should spin evenly without tilting.
Fine-tuning The Tail
The tail helps stabilize the helicopter. A long tail can cause an imbalance. Trim it to find the right length. Check how it affects the flight. A balanced tail ensures straight flight. Experiment with different lengths. Find the sweet spot for smooth flying.
Testing And Observing
Testing is key to achieving balance. Fly the helicopter in an open space. Watch how it moves. If it leans, make adjustments. Observe how changes affect flight. Encourage kids to note each result. This process teaches problem-solving. Balancing a helicopter is a creative challenge. It combines learning with fun. Kids gain insight into balance and flight.
Testing And Adjustments
Making minor adjustments helps improve your kid’s simple helicopter. Testing different propeller angles and materials fine-tunes performance. Encourage creativity by experimenting with weight distribution for better flight.
Testing and adjusting your homemade helicopter is where the real fun begins. You’ve built it, now it’s time to see it soar. This phase is all about fine-tuning your creation to make it fly just right. If you’re wondering why your helicopter doesn’t stay in the air for long, you’re in the right place. Let’s dive into the details of testing and making those crucial adjustments.
Initial Test Flights
Start by taking your helicopter outdoors on a calm day. Gently toss it into the air and observe how it behaves. Does it spin too quickly or fall straight down? Take notes on its flight path. This will help you make precise adjustments. Remember, every flight is a learning opportunity.
Common Flight Issues
Does your helicopter tilt to one side? It might be unbalanced. Try adding a small weight to the lighter side. If it drops too fast, adjust the angle of the blades. Sometimes, a slight tweak can make a big difference. Be patient and keep experimenting.
Making Adjustments
Use tape to add weight if needed. Place small pieces strategically on the body or blades. Adjust the blade angle by gently bending it. Aim for a symmetrical shape to ensure even lift. Keep testing after each adjustment to see the effects.
Learning From Each Test
Each flight tells a story. Did it fly better after adding weight? Did changing the blade angle help? Reflect on what worked and what didn’t. This will guide your next steps. Use this iterative process to improve your design.
Encouraging Creativity
Challenge yourself to think outside the box. Could a different material enhance flight? Invite your kids to brainstorm solutions. This empowers them to problem-solve and innovate.
Celebrating Success
Once your helicopter soars smoothly, celebrate the achievement. It’s not just about the result but the process of learning and improving. Encourage your kids to share their success with friends.
It’s a great way to inspire others to get creative and build their flying machines. Testing and adjustments can be an incredible journey of discovery. What unique challenges did you face, and how did you overcome them? Share your story in the comments!
Safety Tips For Kids
Crafting a simple helicopter that flies can be fun and educational for kids. Ensure safety by using lightweight materials, supervising assembly, and offering guidance during launch. Encourage creativity while prioritizing safety to create a memorable experience.
Creating a simple helicopter that can fly is a thrilling project for kids. It not only sparks their creativity but also enhances their understanding of basic aerodynamics.
However, it’s essential to prioritize safety throughout the activity. By guiding kids with proper safety tips, you ensure they have fun while learning. So, how can you make sure your child stays safe and enjoys the process?
Ensure Adult Supervision
Kids should always have an adult present when working on their helicopter project. An adult can help handle sharp tools or tricky parts. They can also provide guidance to ensure the project is built correctly and safely.
Wear Protective Gear
Safety goggles are a must when working with small parts that could fly off unexpectedly. In addition, wearing gloves can protect little hands from cuts or scrapes. Make sure your child feels comfortable in their gear so they can focus on the fun!
Choose A Safe Workspace
A clean, well-lit area is essential for any project. Clear any clutter that might cause accidents. Ensure there’s enough space for your child to move around without bumping into things.
Use Safe Materials
Select materials that are kid-friendly and non-toxic. Avoid sharp or heavy components that could cause harm if mishandled. Opt for lightweight materials like paper or plastic that are easy to work with.
Test In A Safe Environment
When it’s time to fly the helicopter, choose an open area free from obstacles. This prevents the aircraft from crashing into objects or people. Please remind your child to keep a safe distance while testing their creation.
Encourage Communication
Encourage your child to speak up if they feel unsure or uncomfortable. Open communication helps prevent accidents and ensures everyone is on the same page. Ask them questions about their understanding of each step to keep them engaged and aware.
Remember, safety doesn’t have to be boring. It’s all about ensuring your child has a wonderful experience without any mishaps. So, are you ready to embark on this exciting project with your child, making sure they have fun safely?

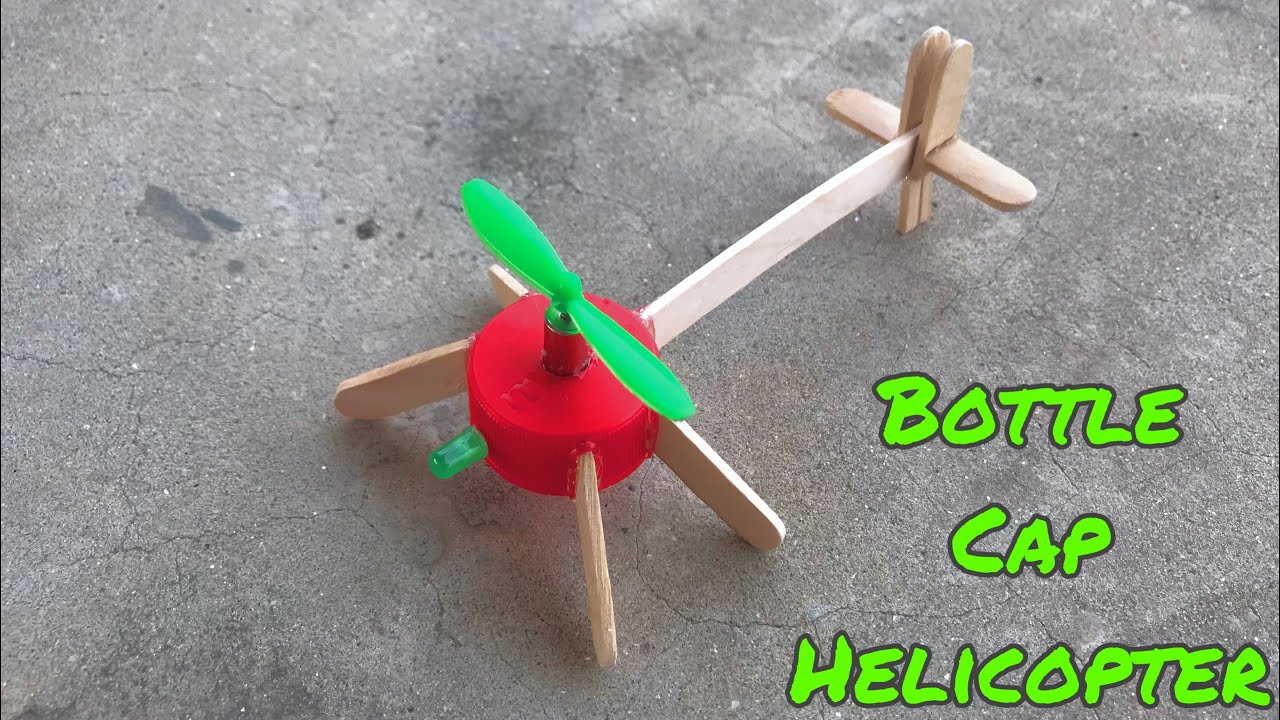
Credit: www.youtube.com
Frequently Asked Questions
How Can Kids Make A Flying Helicopter?
Kids can make a simple helicopter using paper, tape, and a rubber band. Please fold the paper to create rotor blades, attach them securely, and use the rubber band for tension. This simple design allows kids to understand basic aerodynamics and enjoy watching their creation fly.
What Materials Are Needed For A Toy Helicopter?
To make a toy helicopter, gather paper, scissors, tape, and a rubber band. These materials are easy to find at home. They help create a basic helicopter model. Using these items, kids can explore flight concepts and have fun with their DIY project.
How Does A Paper Helicopter Fly?
A paper helicopter flies due to its rotor blades spinning in the air. As the blades rotate, they create lift, allowing the aircraft to rise. The rubber band provides the necessary tension. This simple mechanism helps kids understand basic principles of aerodynamics and flight.
Can Kids Safely Make Helicopters At Home?
Yes, kids can safely make helicopters at home with supervision. Using paper and simple tools minimizes risk. Ensure scissors are used carefully. This activity encourages creativity and learning in a safe environment. Parents can guide their children through the process for added safety.
Conclusion
Creating a simple helicopter for kids is fun and educational. It sparks curiosity and creativity. Kids love watching their homemade helicopter take flight. They learn basic mechanics and enjoy hands-on crafting. Parents can join in, making it a great bonding activity.
Ensure safety by supervising and using safe materials. Encourage kids to explore further and ask questions. This project can inspire young minds to dream big. Remember, the joy is in the process, not just the result. Build, fly, and enjoy the adventure together.
Keep experimenting and learning. Happy flying!