Can I Build an Rc Plane from Cardboard? Discover How
Imagine the thrill of watching your very own RC plane soar through the sky. Now, picture building it yourself using just cardboard.
Yes, you read that right! You might be wondering if cardboard, a material so ordinary and accessible, can really be transformed into a flying machine. Well, you’re in for a surprise. This blog post is here to answer your burning question: “Can I build an RC plane from cardboard?“
You’ll uncover the secrets and practical tips for turning this simple material into a remarkable creation. Whether you’re a seasoned RC enthusiast or a curious beginner, this guide will captivate your imagination and ignite your creative spirit.
Get ready to explore a world where innovation meets simplicity, and discover how you can craft your own cardboard RC plane. Let’s dive in and see what’s possible!
Basics of RC Plane Construction
Building an RC plane from cardboard is possible and budget-friendly. Cardboard offers a lightweight and easily moldable material. Beginners can craft basic designs with simple tools, making it a fun and educational project.
Building an RC plane from cardboard is an exciting and accessible project for hobbyists and beginners alike. The process may seem daunting at first, but breaking it down into basic steps can make it manageable and fun.
Understanding the fundamental components and how they work together will set you on the path to crafting your own flying masterpiece.
Understanding The Components
Every RC plane consists of several key parts: the fuselage, wings, tail, and control surfaces. The fuselage is the main body, housing the electronics and battery.
Wings provide lift, and the tail helps with stability. Control surfaces, like ailerons and rudders, allow the plane to maneuver. Assembling these from cardboard requires precision and patience. Cardboard is lightweight yet sturdy, making it a good material for beginners.
However, it’s essential to ensure all parts are cut accurately to maintain balance and performance.
Choosing The Right Electronics
The heart of your RC plane lies in its electronics. You’ll need a motor, battery, receiver, and servos. The motor and battery determine how powerful and how long your plane can fly.
Choose a motor that matches the size and weight of your cardboard plane. Servos control the movement of the control surfaces. They need to be responsive and reliable. Ensure your receiver is compatible with your transmitter for seamless communication.
Research and select components within your budget that meet your flying needs.
Designing And Assembling
Start by sketching a simple design. Keep in mind the weight distribution and aerodynamics. Use your sketches as a blueprint to cut out cardboard pieces with precision. When assembling, use a strong adhesive or glue gun.
Pay attention to the alignment of the wings and tail. They should be perfectly straight to ensure a stable flight. Attach the electronics carefully, securing them in the fuselage. Make sure wires are neat and don’t interfere with moving parts. Test-fit everything before the final assembly to avoid any surprises.
Testing And Adjusting
Once assembled, it’s time for a test flight. Choose an open area free of obstacles. A gentle hand launch can give you an initial feel for how it flies. Observe how your plane behaves in the air. Does it tilt to one side? Is it nose-heavy?
Adjustments may be necessary. Adding or removing weight in certain areas can help balance your plane. Be patient and ready to make tweaks. Each adjustment brings you closer to the perfect flight.
Learning From Experience
Every RC plane builder has a story of their first flight, often filled with unexpected challenges and learning opportunities. Your first cardboard plane might not fly perfectly, but that’s okay. The experience gained is invaluable. Consider what worked and what didn’t.
Use these insights for your next build. The more you practice, the better you’ll become at designing and building. Have you ever thought about the joy of creating something that can soar through the sky with your own hands?
Building an RC plane from cardboard is not just about the result, but the journey of learning and creativity. Each step brings you closer to the thrill of seeing your creation take flight.
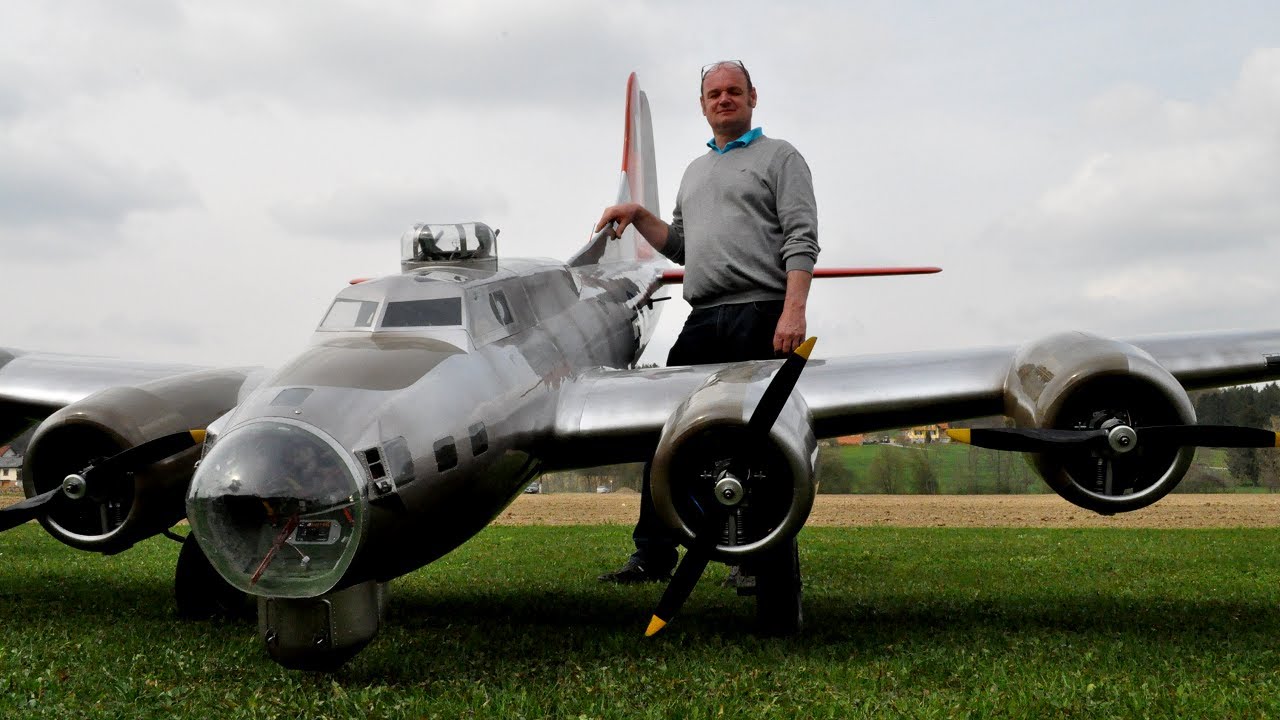
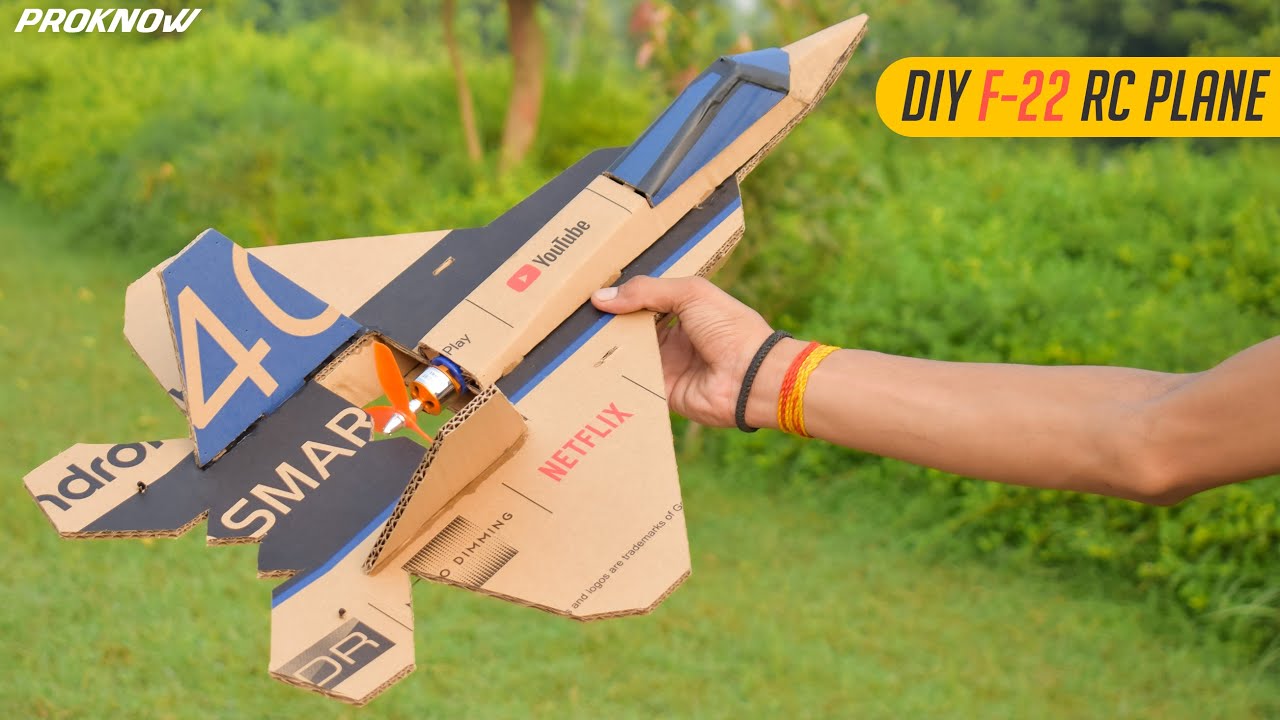
Credit: m.youtube.com
Choosing The Right Cardboard
Building an RC plane from cardboard is possible with the right choice of material. Select sturdy, lightweight cardboard for structural strength and ease of flight. Properly chosen cardboard ensures durability and enhances the plane’s performance.
Building an RC plane from cardboard is a fascinating endeavor that invites creativity and engineering. One of the most crucial steps in this process is choosing the right cardboard. Your choice of cardboard will directly impact the plane’s durability, weight, and aerodynamics.
It’s like picking the perfect piece of wood for a handmade boat. You wouldn’t want it to sink, would you? Let’s dive into how to make the best choice for your cardboard RC plane.
Understanding Cardboard Types
Cardboard comes in various types, each with its own strengths and weaknesses. You might be familiar with corrugated cardboard, often used in shipping boxes. It’s sturdy and offers good support, perfect for the plane’s body.
Then there’s the single-ply cardboard, which is lighter and ideal for smaller parts like the tail and wings. Consider the balance between strength and weight.
Assessing Thickness And Strength
Thickness matters. Too thick, and your plane becomes heavy and hard to fly; too thin, and it might not withstand the forces during flight.
When I built my first cardboard RC plane, I picked a medium thickness, around 3-5mm, which provided a good balance. Test different thicknesses by bending them—if it bends too easily, it might not be strong enough.
Checking For Flexibility
Flexibility is essential for certain parts of your plane. The wings, for instance, need some bend to respond well to air currents. Try bending the cardboard gently; it should flex without cracking. Remember, flexibility can often mean better flight dynamics.
Considering Weight
Weight is a crucial factor that affects flight performance. Heavier cardboard can make your plane sluggish, while lighter options improve agility. Weigh different types of cardboard and compare them. A kitchen scale can be handy here, giving you precise measurements to work with.
Evaluating Surface Quality
Surface quality impacts both aesthetics and aerodynamics. Smooth cardboard surfaces help reduce drag and improve flight.
Look for cardboard that doesn’t have too many imperfections or rough patches. You want your plane to glide through the air, not struggle against it.
Thinking About Cost
Cardboard is generally inexpensive, but costs can add up if you need large quantities or special types. Consider how much you’re willing to spend.
Sometimes repurposing old boxes can be a budget-friendly option. Be smart about using resources you already have at home. Choosing the right cardboard is a pivotal step in building your RC plane.
Each choice you make contributes to your plane’s ultimate success or failure. What type of cardboard will you choose for your project?
Designing Your Rc Plane
Designing your RC plane is a fascinating part of the building process. It’s where creativity and functionality come together. Using cardboard as your primary material can be both challenging and rewarding. With patience and precision, you can create a plane that’s not only flyable but also reflects your personal style.
The type of cardboard you use affects the plane’s performance. Opt for lightweight, sturdy cardboard. Corrugated cardboard offers strength and durability. The thinner the cardboard, the lighter the plane. But it must still be strong enough to withstand flight forces.
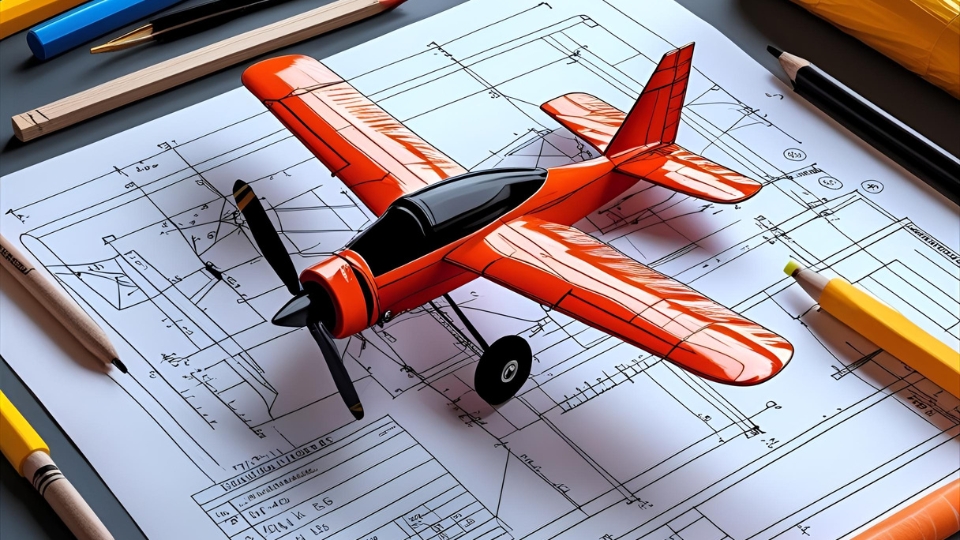
Creating The Plane’s Blueprint
Start with a clear blueprint. Draw your plane’s design on paper first. Consider the wingspan, body length, and tail size. The design should balance aesthetics and aerodynamics. Use online resources or software for precise measurements.
Cutting And Shaping The Cardboard
Use a sharp knife or scissors for cutting. Follow your blueprint carefully. Ensure all pieces are symmetrical. Smooth edges for a clean finish. This ensures better aerodynamics and stability.
Assembling The Plane
Join the pieces with a strong adhesive. Ensure all parts fit snugly. Reinforce joints for added strength. Check alignment for a balanced structure. Improper assembly can affect flight.
Testing Aerodynamics
Before adding electronics, test the plane’s aerodynamics. Throw it gently to see how it glides. Adjust wings and tail for better balance. Proper aerodynamics ensures smoother flights.
Essential Tools And Materials
Building an RC plane from cardboard can be a fun project. Understanding the essential tools and materials is crucial. They ensure a smooth crafting experience.
Even for beginners, these items are easy to find and use. Whether you’re a hobbyist or a first-timer, knowing what you need is the first step.
Essential Tools
Basic tools make the building process easier and more efficient. A sharp utility knife is necessary for precise cuts. A metal ruler helps in measuring and cutting straight lines. Sandpaper smooths rough edges and improves the plane’s finish.
A hot glue gun is ideal for quick and strong bonds. These tools are often available in local hardware stores.
Cardboard Selection
Choose strong, lightweight cardboard. Corrugated cardboard offers strength and flexibility. It is perfect for building the plane’s body and wings. Avoid cardboard with excessive bends or tears. Quality cardboard ensures a longer-lasting RC plane.
Adhesives And Fasteners
Adhesives are vital for securing parts together. Hot glue works well for quick setups. For more durable bonds, use PVA or craft glue. Double-sided tape can hold small parts temporarily. Fasteners like rubber bands or clips are useful during assembly. They keep parts in place while the glue dries.
Decorative Materials
Personalize your RC plane with paint and stickers. Choose non-toxic spray paints for a smooth finish. Stickers add character and style.
Ensure paints and stickers are lightweight to avoid adding unnecessary weight. These materials let you express creativity on your RC plane.
Optional Electronics
Enhance your cardboard RC plane with optional electronics. A small motor and propeller add functionality. Purchase a lightweight battery pack for power. A basic remote control system gives you flying control. These components turn your cardboard craft into a flying model.
Building The Fuselage
Crafting an RC plane from cardboard involves constructing a strong fuselage. Cardboard offers a lightweight and cost-effective material for beginners. With precise cutting and careful assembly, a durable frame can be achieved.
Building the fuselage is a critical step in crafting your RC plane from cardboard. This component serves as the main body, housing the electronics, battery, and other essential parts.
A well-built fuselage ensures stability and aerodynamics, which are key to a successful flight. But how do you transform a simple piece of cardboard into a robust fuselage? Let’s break it down.
1. Selecting The Right Cardboard
Not all cardboard is created equal. Opt for sturdy, corrugated cardboard with good tensile strength. This ensures your fuselage can withstand the forces of flight and landing. You might have some lying around from old packaging boxes; just make sure it’s clean and free from damage.
2. Designing The Fuselage Shape
Sketch a simple design on paper first. Decide on the length and width that will suit your plane’s size. Keep in mind that a streamlined shape reduces air resistance. A rectangular or cylindrical shape is easier for beginners and provides ample space for your components.
3. Cutting The Cardboard
Use a sharp utility knife or scissors for precise cuts. Ensure all pieces are symmetrical to maintain balance during flight. Safety is paramount—watch your fingers and work on a stable surface.
4. Assembling The Fuselage
Once cut, join the pieces using a strong adhesive like hot glue or epoxy. Reinforce joints with tape to add strength. Consider using internal braces from cardboard strips for added rigidity.
5. Installing Components
Plan where your electronics and battery will go before sealing the fuselage. Secure them firmly to avoid shifting during flight. How you organize these components will affect the plane’s center of gravity, so aim for balance.
6. Adding Finishing Touches
Smooth out any rough edges and ensure all parts are securely attached. You might want to add a coat of paint or sealant to protect the cardboard from moisture. This can also enhance the visual appeal of your plane.
Building the fuselage from cardboard is not only economical but also a satisfying project that tests your creativity and craftsmanship. Have you ever thought of trying different shapes or materials for your RC plane? The sky’s the limit!
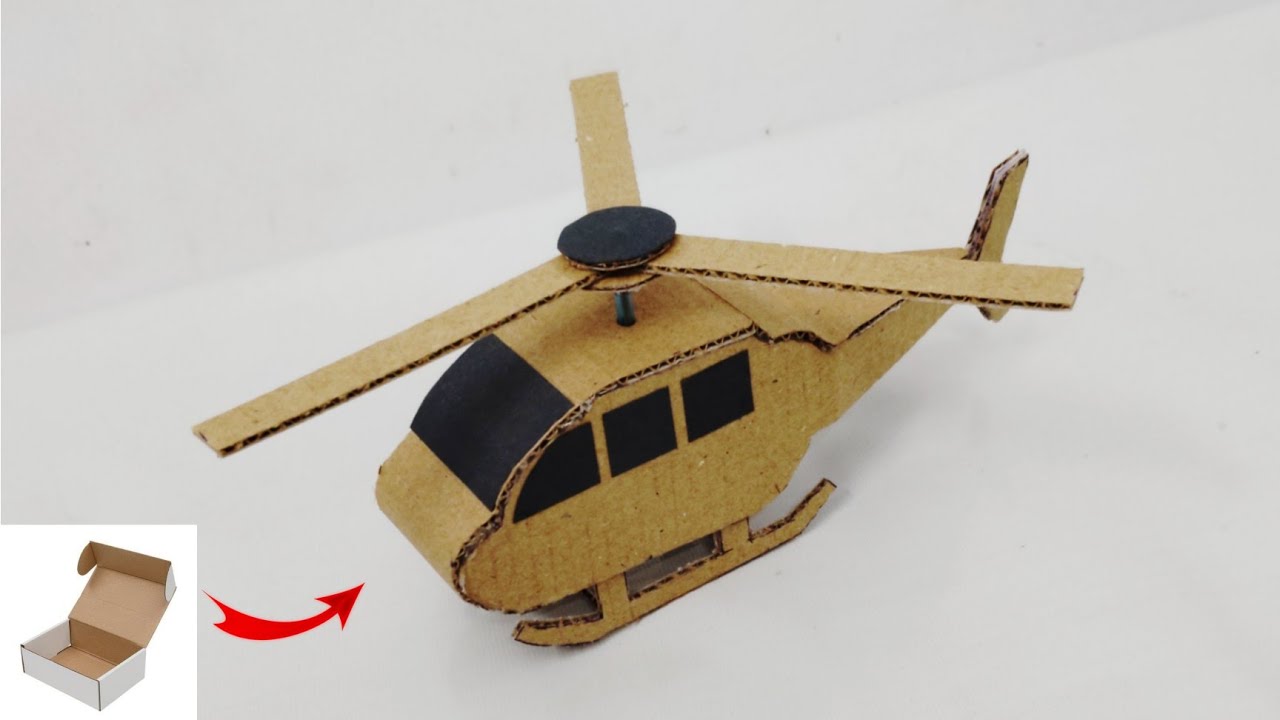
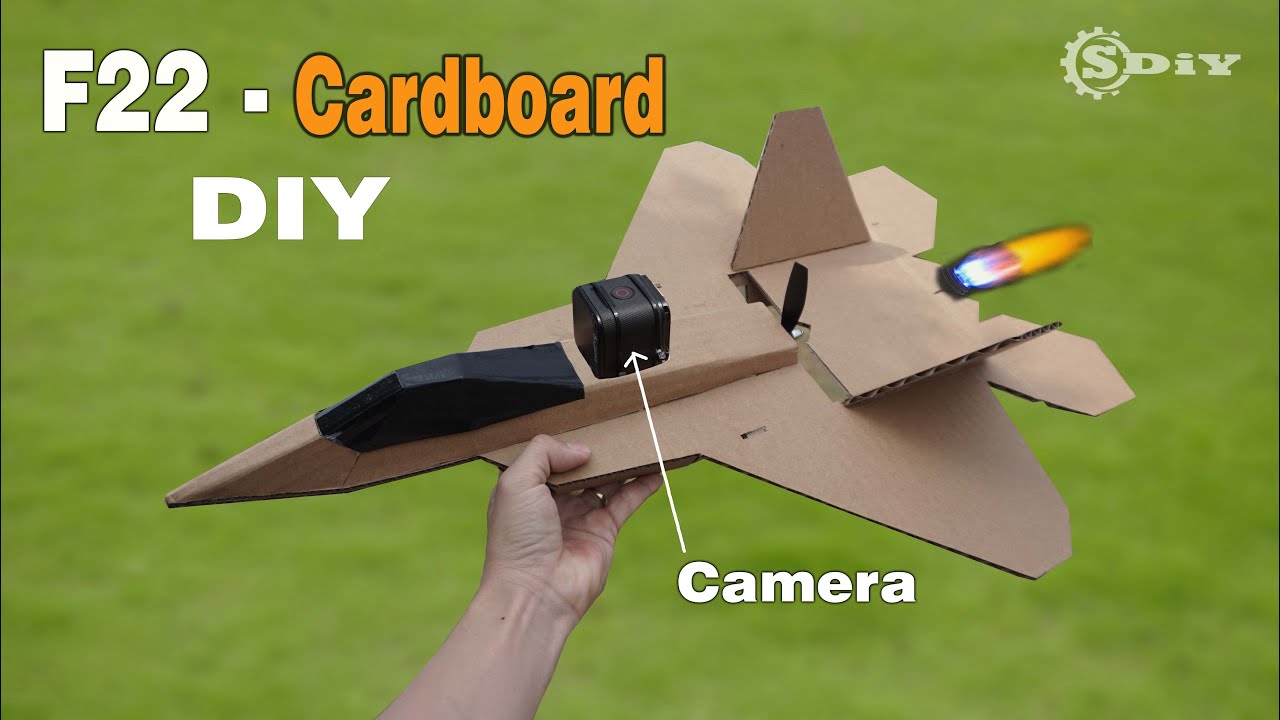
Credit: www.instructables.com
Crafting The Wings
Crafting the wings of an RC plane from cardboard is a unique task. Cardboard is lightweight, affordable, and easy to manipulate. The wings are crucial for flight stability and lift. This section will guide you through the process of creating effective cardboard wings.
Understanding Wing Structure
Wings consist of a flat surface called the airfoil. The airfoil shape helps generate lift. Curved tops and flat bottoms are common designs. This design allows air to move faster above the wing, creating lift.
Not all cardboard is equal. Select durable and rigid types for the wings. Corrugated cardboard offers excellent strength. Avoid thin cardboard as it may bend or break easily.
Designing Wing Shape
Wing shape affects flight performance. Common shapes include rectangular and tapered. Rectangular wings are simple and efficient for beginners. Tapered wings offer better aerodynamic properties.
Cutting The Cardboard
Use sharp tools for clean cuts. Precise cuts ensure wings fit perfectly. Measure twice before cutting. This reduces waste and mistakes.
Reinforcing The Wings
Reinforcement is key to durability. Add layers of cardboard or tape for strength. Reinforced wings withstand stress during flight. Proper reinforcement prevents wing damage.
Attaching Wings To The Fuselage
Secure attachment is crucial. Use glue or tape for a firm hold. Ensure wings are level and balanced. Balanced wings improve flight stability.
Installing Electronics And Controls
Building an RC plane from cardboard is an exciting project that combines creativity with engineering. Once you’ve crafted the basic structure, it’s time to breathe life into your creation by installing electronics and controls.
This step transforms your cardboard model into a functional flying machine. It’s where technology meets craftsmanship, and your plane’s journey from a mere prototype to an airborne marvel begins. Let’s explore how you can successfully integrate electronics and controls into your cardboard RC plane.
Selecting The Right Components
The first step is choosing the right electronics for your cardboard RC plane. You’ll need a transmitter, receiver, servos, ESC (Electronic Speed Controller), and a motor. Opt for lightweight components that fit the scale of your model. A small brushless motor can provide sufficient thrust without adding excess weight.
Consider using micro servos for control surfaces. They are compact and perform well with lightweight materials like cardboard. Your choice of components will directly influence the plane’s performance and flight dynamics.
Mounting The Motor
Mounting the motor requires precision and stability. You can create a motor mount from reinforced cardboard or use a lightweight metal bracket. Ensure the motor is securely attached to the nose of the plane.
Align the motor shaft with the fuselage centerline to maintain balance. This setup will help in achieving smooth and stable flight patterns. A well-mounted motor is crucial for efficient thrust and propulsion.
Installing Servos For Control Surfaces
Servos are essential for controlling the ailerons, rudder, and elevator of your RC plane. Cut small slots in the cardboard to position the servos accurately. Use hot glue or small screws to hold them firmly in place.
Connect each servo to the corresponding control surface using control rods. Test the movement to ensure it responds correctly to your inputs. Proper servo installation will give you precise control over the plane’s maneuvers.
Connecting The Esc And Battery
The ESC connects the motor to the battery and controls its speed. Securely mount the ESC inside the fuselage, ensuring it’s away from moving parts. Choose a battery that provides ample power without adding too much weight.
Make sure the battery is easily accessible for recharging and replacement. Velcro strips can be a simple solution for securing the battery. A well-connected ESC and battery are key to reliable power management.
Testing The Controls
Before taking to the skies, conduct a thorough test of all controls. Power up the plane and check the response of each control surface. Ensure the motor runs smoothly and the servos move without obstruction.
Adjust settings in the transmitter to fine-tune control sensitivity. A successful test will boost your confidence for the maiden flight. Imagine the thrill of seeing your cardboard plane take off for the first time!
With electronics and controls installed, your cardboard RC plane is ready to soar. Have you ever dreamed of building your own aircraft? How will you feel when your creation defies gravity? Embrace the challenge and let your plane take flight. The sky is not the limit—it’s just the beginning of your aviation adventure!
Testing And Tuning
Testing and tuning your RC plane is crucial. It ensures optimal flight performance. After assembling your cardboard RC plane, the next step is crucial. This phase determines how well your plane flies. A well-tuned plane offers stability and control in the air.
Pre-flight Checks
Inspect your RC plane thoroughly. Look for any loose parts. Check the connections of the motor and electronics. Ensure the control surfaces move correctly. This minimizes risks during flight. Confirm the battery is fully charged. It should be securely in place. These checks ensure safety and readiness.
Initial Test Flights
Start with short flights. Use an open and clear space. This reduces the chance of accidents. Launch the plane gently. Observe its behavior in the air. Look for any imbalance or drift. Adjust the trim settings on your remote. This helps correct minor issues.
Fine-tuning The Controls
Adjust the control surfaces for better handling. Make small changes to the rudder, elevator, and ailerons. Notice how the plane responds. Fine-tuning improves stability and control. Keep testing until the plane flies smoothly.
Balancing The Weight
Proper weight balance is essential. Ensure the plane’s center of gravity is correct. Adjust the position of the battery if needed. A well-balanced plane flies straighter. It also handles turns more effectively.
Handling Wind Conditions
Test your plane in different wind conditions. Light winds are preferable for initial tests. Strong winds may cause instability. Learn how your plane reacts. This helps in developing better control techniques.
Troubleshooting Common Issues
Building an RC plane from cardboard can be fun, but issues like weight and durability arise. Ensure the cardboard is sturdy, and balance is maintained. Properly secure all electronic components to avoid malfunctions during flight.
Building an RC plane from cardboard can be a fun and rewarding project. However, like any DIY endeavor, it comes with its own set of challenges. Knowing how to troubleshoot these issues can make the difference between a successful flight and a crash landing.
Identifying Structural Weak Points
Cardboard, though versatile, can be fragile. Check for weak spots in the wings and fuselage. Reinforce these areas with additional layers of cardboard or lightweight materials like balsa wood. Are your wings bending under pressure?
Consider adding a spar for extra support. Always test the plane’s structure by gently applying pressure to ensure it can handle the stress of flight.
Ensuring Adequate Lift
Struggling to get your plane off the ground? The problem might be the lift. Double-check the wing shape and angle. A slight adjustment can make a big difference. Experiment with different wing configurations to see what works best. Remember, the wings should create enough lift to support the weight of the plane.
Addressing Control Issues
Is your RC plane not responding to commands? Ensure the control surfaces, like ailerons and elevators, are moving freely. Check the connections to your transmitter. Sometimes, signal interference or a weak battery can be the culprit. Test your controls before takeoff to avoid mid-air mishaps.
Balancing Weight Distribution
An uneven weight distribution can cause the plane to nosedive or stall. Make sure the center of gravity is properly aligned. Use small weights to balance the plane if needed.
Experiment by gently tossing the plane to see how it glides. This can help you make necessary adjustments for better performance.
Improving Aerodynamics
Is your plane too slow or struggling to move smoothly through the air? Aerodynamics might need tweaking. Smooth out rough surfaces and ensure all components are securely attached.
Sharp edges can create drag and reduce efficiency. Consider the overall shape of your plane and make adjustments to enhance its flight capabilities.
Fine-tuning Power Supply
If your plane lacks the thrust to take off, the power supply could be inadequate. Ensure your motor and propeller are appropriate for the plane’s size and weight. Upgrade your battery if necessary.
A powerful yet lightweight setup can significantly boost performance. Always ensure connections are secure to prevent power loss during flight. Building an RC plane from cardboard is not just about following a blueprint; it’s about problem-solving and creativity.
How will you tackle these challenges and refine your design? With patience and persistence, you can turn a simple cardboard project into a soaring success.

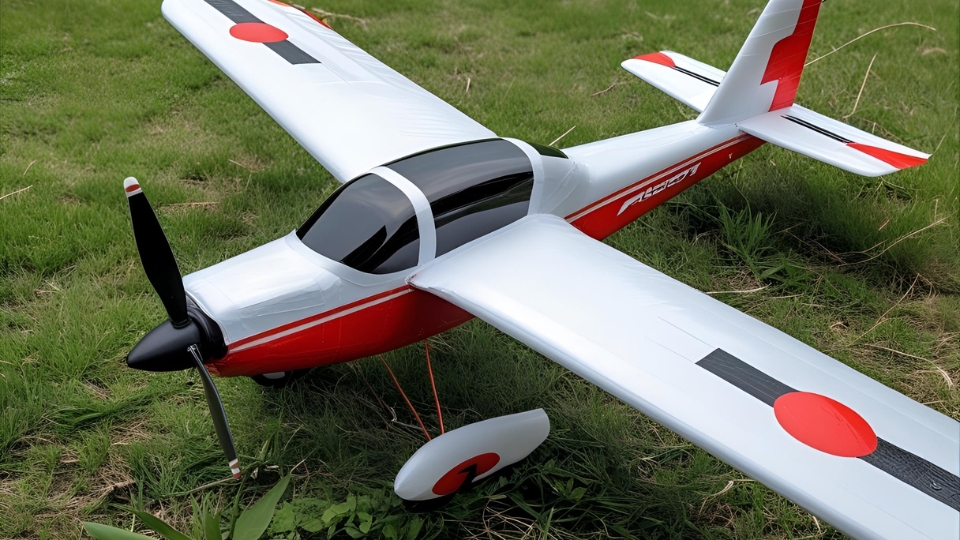
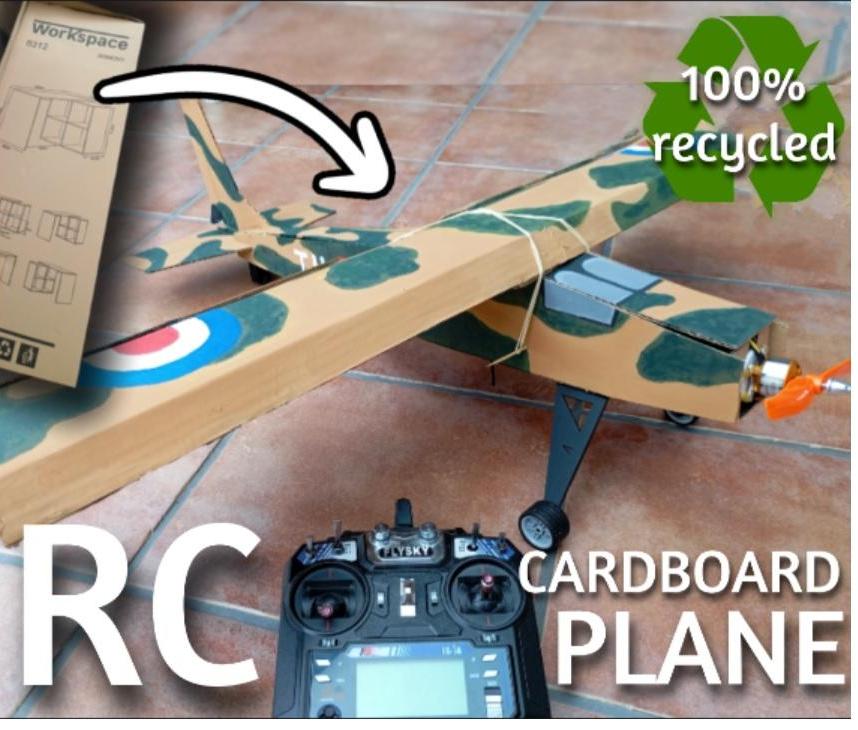
Credit: www.instructables.com
Frequently Asked Questions
What Materials Are Needed For A Cardboard Rc Plane?
To build a cardboard RC plane, gather materials like sturdy cardboard, a lightweight motor, a propeller, a battery, and servo motors. You’ll also need basic tools such as a hobby knife, ruler, and glue. Ensure all components are lightweight to maintain flight efficiency and ease of control.
Is Cardboard Suitable For Rc Planes?
Cardboard is suitable for beginners due to its light weight and accessibility. It’s easy to cut and shape, allowing for creative designs. While not as durable as other materials, it’s a cost-effective choice for experimenting with RC plane construction and flight dynamics.
How Do I Design A Cardboard Rc Plane?
Start by sketching a simple design, focusing on aerodynamics and weight distribution. Cut cardboard pieces according to your design, ensuring they fit together securely. Consider wing shape and size for lift. Assemble components carefully, balancing weight for stable flight and effective control.
Can Cardboard Rc Planes Fly Well?
Cardboard RC planes can fly well with proper design and lightweight components. Ensure balanced weight distribution and effective aerodynamics. While not as durable as traditional materials, they offer a fun and inexpensive way to explore flight mechanics and improve building skills.
Conclusion
Building an RC plane from cardboard is a fun project. It offers a creative way to learn and experiment. You need basic supplies and some patience. Remember to check the weight and balance. These affect the plane’s flight. Cardboard is cheap and easy to find.
You can experiment without spending much. It’s a rewarding activity for hobbyists. Experience the joy of crafting your own model. With practice, you can improve your designs. Enjoy the process and happy flying!