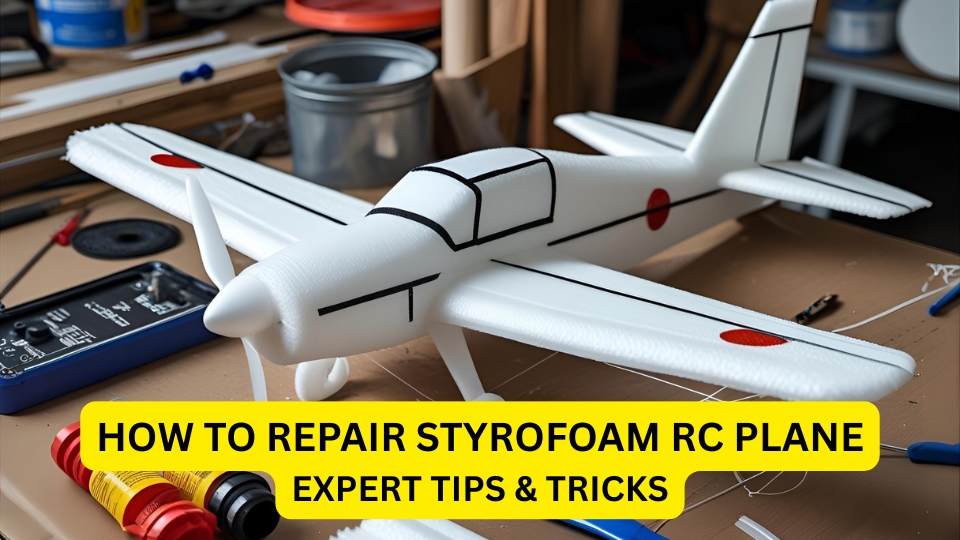
How to Repair Styrofoam Rc Plane: Expert Tips & Tricks 2025
Have you ever watched in dismay as your beloved Styrofoam RC plane took a nosedive? It’s frustrating.
You invest time and money into your model, only to see it broken after one flight mishap. But don’t worry—there’s hope! You can learn how to repair your Styrofoam RC plane and get it soaring again. Imagine the thrill of seeing your plane glide smoothly through the sky, knowing that you fixed it yourself.
In this guide, we’ll reveal simple techniques that anyone can use to mend their RC plane. You’ll discover the right tools and methods to restore your model, saving you both time and money. Are you ready to take control and breathe new life into your RC plane?
Let’s dive into the repair process and get you back to flying in no time!
How to Repair Styrofoam RC Plane: Tools And Materials
Repairing a Styrofoam RC plane requires specific tools and materials. These items ensure a smooth repair process. Using the right tools helps maintain the plane’s performance. Selecting quality materials guarantees durability and reliability. Below, you will find essential tools and materials for this task.
Tools
Having the correct tools is crucial for effective repairs. Precision is key.
- Hobby Knife: A sharp hobby knife helps cut and shape foam.
- Hot Glue Gun: Use a hot glue gun for quick and strong fixes.
- Sandpaper: Smooths out rough edges and surfaces.
- Paintbrush: Essential for applying paint or glue evenly.
Materials
Quality materials ensure your repairs last longer and function well.
- Foam Glue: Special glue formulated for Styrofoam.
- Replacement Foam: Match the density of your original foam.
- Clear Tape: Provides extra support and protection.
- Paint: Choose paint compatible with Styrofoam for touch-ups.
Safety Equipment
Prioritize safety to avoid accidents and injuries during repairs.
- Gloves: Protect your hands from cuts and glue.
- Safety Glasses: Shield your eyes from debris and glue splatters.
- Mask: Prevent inhalation of dust and fumes.
Gather these tools and materials before starting your repair project. Preparation saves time and ensures a successful repair.

Credit: www.youtube.com
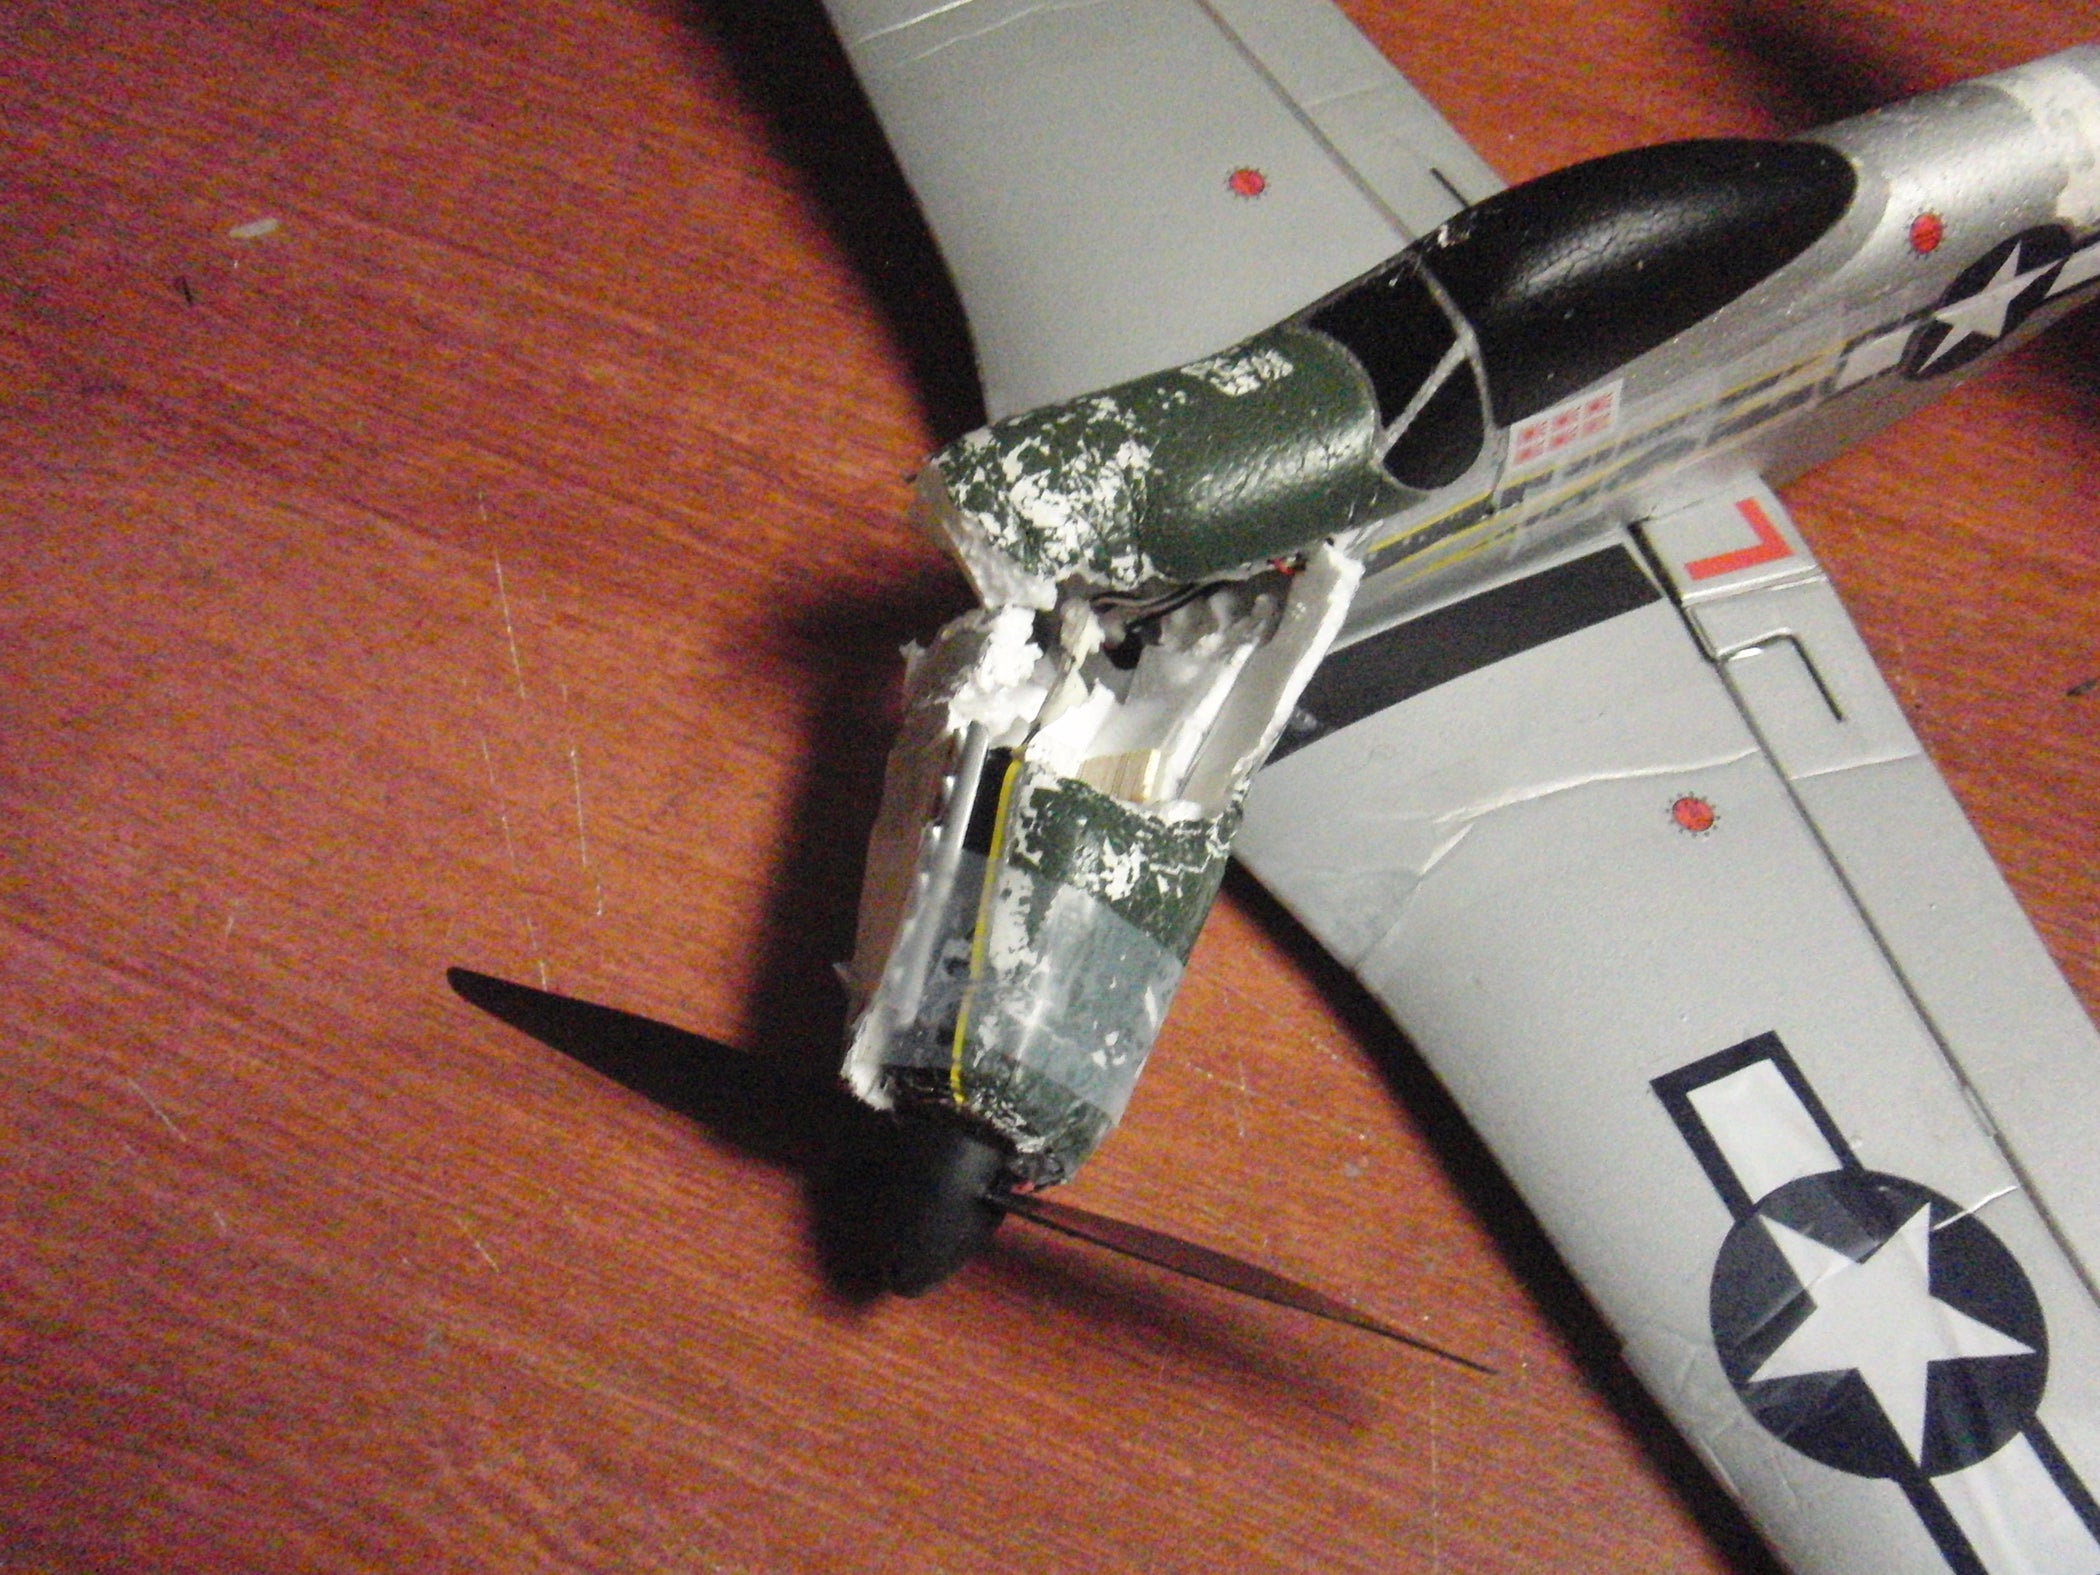
Assessing Damage
Before repairing your Styrofoam RC plane, understanding the damage is key. Proper assessment helps in choosing the correct repair method. This ensures your aircraft flies safely again.
Identifying Visible Cracks And Breaks
Scrutinize the plane for visible cracks or breaks. Use a good light source to spot small cracks. Pay special attention to the wings and body.
Checking For Loose Parts
Gently shake the plane to detect loose parts. Listen for any rattling sounds. Loose parts can affect the plane’s performance.
Inspecting The Landing Gear
Examine the landing gear for bends or breaks. Landing gear issues can lead to rough landings. Ensure they are aligned and secure.
Evaluating The Electronic Components
Check the electronic parts for any disconnections or damage. Ensure wires and connectors are intact. Faulty electronics can cause flight problems.
Examining The Surface For Dents
Look for dents on the Styrofoam surface. Run your fingers over the plane to feel for uneven areas. Dents can affect the aerodynamics.
Cleaning The Surface
Cleaning the surface of your Styrofoam RC plane is crucial. It ensures proper adhesion during repairs. Dirt and debris can affect repair quality. Proper cleaning helps maintain the plane’s integrity.
Gather The Right Materials
Use a soft cloth or sponge for cleaning. Avoid abrasive materials. They can damage the foam. Mild soap and water are ideal. Harsh chemicals should be avoided. They can weaken the Styrofoam.
Prepare The Cleaning Solution
Mix mild soap with warm water. Ensure the soap is gentle. Harsh soap can harm the foam. Stir the mixture until it foams slightly. This helps remove dirt effectively.
Apply The Cleaning Solution
Soak the cloth or sponge in the solution. Wring it out to remove excess water. Gently wipe the Styrofoam surface. Focus on areas with visible dirt. Avoid soaking the foam thoroughly.
Inspect The Surface Thoroughly
Look for remaining dirt or residue. Repeat cleaning if necessary. Ensure the surface is clean and dry. This step is vital for a successful repair.
Allow The Surface To Dry
Let the Styrofoam dry naturally. Avoid direct sunlight or heat sources. They can warp the foam. Ensure it’s scorched before proceeding. This prevents any repair issues.
Gluing Techniques
Fixing a Styrofoam RC plane involves choosing the right glue. Foam-safe adhesives work best, ensuring strong bonds without damage. Apply gently to avoid dissolving the material, allowing precise control during repairs.
Repairing a Styrofoam RC plane might sound daunting, but with the proper gluing techniques, you can bring your model back to life. Picking the right glue and knowing how to apply it are crucial steps in ensuring your RC plane is ready to take to the skies again. Whether you’re a seasoned hobbyist or a beginner, understanding these techniques will save you time and effort.
Choosing The Right Glue
Select a glue that bonds well with Styrofoam without causing damage. Avoid using superglue as it can melt the foam. Foam-safe CA (cyanoacrylate) glue is an excellent choice. It provides a strong bond and dries quickly, allowing you to get back to flying sooner.
Preparing The Surfaces
Clean the surfaces you intend to glue. Dust and debris can weaken the bond. Use a soft brush or a damp cloth to remove any particles gently. If the foam is torn, trim any rough edges to ensure a snug fit.
Applying The Glue
Apply a thin layer of glue to both surfaces that need bonding. Be careful not to use too much, as excess glue can cause the foam to dissolve. Press the pieces together firmly and hold them for a few seconds to ensure a strong bond.
Allowing Time To Cure
Patience is key when waiting for the glue to set. Even though foam-safe CA glue dries quickly, allowing it to cure fully ensures durability. Check the manufacturer’s instructions for recommended curing times.
Reinforcing The Joint
Consider adding reinforcements to your repair for added strength. Use lightweight materials like carbon fiber rods or strips of tape. These can provide additional support without adding too much weight to your plane.
Testing The Repair
Once the glue has cured, test the repaired area. Gently apply pressure to ensure the joint holds. If it feels secure, your RC plane is ready for a gentle flight test. Remember, taking the time to do it right means fewer repairs in the future. Have you ever had a DIY project go wrong because you rushed it?
Taking time with these gluing techniques ensures your RC plane repairs last. What’s your go-to glue for Styrofoam repairs?
Reinforcing Weak Spots
Strengthening your Styrofoam RC plane involves careful patching of weak areas. Use lightweight materials like foam-safe glue and small patches to mend holes or cracks. These repairs ensure the plane remains sturdy and maintains flight stability, enhancing performance and enjoyment.
Reinforcing weak spots on your Styrofoam RC plane is crucial for maintaining its longevity and performance. Over time, crashes and wear can compromise the integrity of your model. Addressing these vulnerabilities ensures a smoother flight and less frequent repairs.
Understanding Weak Spots
Identifying weak spots is the first step in reinforcement. These are areas frequently subjected to stress, like wing roots and nose sections. Scrutinize your plane for any cracks, dents, or areas that have previously broken.
Using Reinforcement Tape
Reinforcement tape is an easy and effective solution for strengthening fragile areas. Apply it to the underside of wings and along the fuselage. The added support can prevent further damage during hard landings.
Employing Glue And Epoxy
For cracks and splits, glue and epoxy work wonders. Use a foam-safe adhesive to bond broken parts securely. Epoxy provides a robust fix for larger breaks, ensuring the plane retains its structural integrity.
Adding Carbon Fiber Rods
Carbon fiber rods are lightweight yet strong, perfect for strengthening wings and fuselage. Insert these rods into critical areas to enhance rigidity. This addition can significantly improve the plane’s stability during flights.
Regular Maintenance Checks
Frequent inspection prevents minor issues from escalating. Before each flight, check for any new weak spots or emerging cracks. Early detection allows for quick fixes, saving you time and effort in the long run. Reinforcing your RC plane not only boosts its durability but also enhances your flying experience.
Have you ever tried these methods, or do you have other tips that work for you? Engaging with fellow hobbyists can open up new strategies and techniques.
Replacing Broken Parts
Fixing a broken Styrofoam RC plane requires patience and basic tools. Identify damaged areas and clean them. Use foam-safe glue to reattach parts. Let it dry completely before testing.
Repairing a Styrofoam RC plane can be a rewarding experience, especially when it involves replacing broken parts. Whether it’s a wing snapped during a daring dive or a rudder damaged in a rough landing, knowing how to swap out damaged components effectively can extend the life of your plane. Replacing these parts not only saves you money but also gives you a deeper understanding of your model’s mechanics.
Let’s dive into how you can efficiently replace those broken parts and get your RC plane back in the skies.
Identifying The Broken Part
First, you need to identify which part of your RC plane is damaged. Check for any visible cracks or breaks. Sometimes, the damage might not be immediately apparent, so gently inspect each component.
Gathering The Right Tools
Before you start the replacement process, gather the necessary tools. You might need a screwdriver, some glue, and replacement parts specific to your RC plane model. Having everything ready can make the repair process smoother and faster.
Removing The Damaged Part
Carefully detach the broken part from your plane. If it’s a wing, unscrew it from the fuselage. If it’s glued, gently peel it off, taking care not to damage surrounding areas. This step requires patience to ensure you don’t cause further harm.
Fitting The New Part
Align the new part with your plane. Make sure it fits perfectly into the space where the old part was. A snug fit ensures better performance and aerodynamics. If necessary, trim any excess material for a seamless fit.
Securing The Replacement
Once the new part is in place, secure it with screws or glue. If using glue, allow it to dry completely before testing the plane. This ensures the part stays firmly attached during flight.
Testing The Repair
After replacing and securing the part, it’s crucial to test your plane on the ground before taking flight. Power up the controls and check that everything responds as expected. This step helps prevent further damage from an unsuccessful repair.
Learning From Experience
Reflect on the repair process. What went well? What could be improved next time? Each repair enhances your skills and confidence. You might even find joy in the process, transforming a setback into a valuable learning opportunity. Have you ever repaired your RC plane?
What challenges did you face, and how did you overcome them? Sharing your experiences can be as rewarding as flying itself.
Painting And Finishing
Fixing a Styrofoam RC plane requires gentle handling and careful gluing. Start by cleaning the broken area. Apply foam-safe glue to reattach pieces, ensuring alignment. Allow it to dry entirely before flying again.
Painting and finishing your Styrofoam RC plane is more than just about aesthetics; it’s about protection and performance. A well-applied coat of paint can shield your aircraft from the elements and enhance its aerodynamics. However, achieving a smooth and durable finish requires careful planning and execution.
Choosing The Right Paint
Select a paint that is compatible with Styrofoam. Solvent-based paints can melt the foam, so go for water-based acrylics. These are gentle on the material and offer a wide range of colors. Check the label to ensure it’s foam-safe. An unsuspecting choice can ruin your hard work in seconds.
Preparing The Surface
Before painting, clean the plane’s surface to remove dust and dirt. Use a soft, damp cloth for this step. Lightly sand any rough areas with fine-grit sandpaper. A smooth surface ensures the paint adheres properly.
Application Technique
Apply thin coats of paint using a spray can or airbrush. Thick coats can lead to drips and uneven surfaces. Allow each coat to dry completely before applying the next. Patience is key to achieving a flawless finish.
Adding Details And Decals
Once the base coat is dry, add details with a fine brush or painter’s tape. This is your chance to personalize your plane. Consider using decals for precision designs. They are easy to apply and can give your aircraft a professional look.
Sealing The Paint
To protect your paint job, apply a clear sealant. This adds a layer of protection against scratches and UV damage. Choose a sealant that is also foam-safe. A compatible product ensures longevity without compromising the material.
Final Checks
Inspect your plane for any missed spots or imperfections. This is your opportunity to make final touch-ups. Ask yourself if the finish meets your expectations. Would you be proud to showcase this plane? Repairing and finishing your Styrofoam RC plane can be a rewarding process.
With attention to detail and the right materials, your aircraft can look as good as new—or even better. What creative designs will you try on your next project?
Balancing The Plane
Repairing a Styrofoam RC plane requires careful attention to detail. Use a foam-safe adhesive to mend cracks and ensure balanced weight distribution for smooth flight. Regular checks on the plane’s structure help maintain its performance and longevity.
Balancing your Styrofoam RC plane is crucial for smooth flights. Proper balance ensures stability and control. A well-balanced plane flies straight and responds well to commands. Let’s dive into the steps to balance your aircraft effectively.
Understanding The Center Of Gravity
The center of gravity (CG) is key. It is the point where your plane balances perfectly. Check your plane’s manual for the recommended CG location. Mark this point on the wing. It is usually near the middle of the wing.
Using A Balancer Tool
A balancer tool helps find the CG. Place the tool under the marked spot on the wing. Lift the plane gently. It should sit level on the tool. If not, adjustments are needed.
Adjusting The Weight
To balance, adjust the weight. If the nose tips down, add weight to the tail. If the tail drops, add weight to the nose. Small adhesive weights work well. Secure them firmly to prevent movement during flight.
Testing The Balance
Once adjustments are made, test the balance again. Place the plane on the balancer tool. It should now sit level. This confirms a correct balance. If not, repeat the weight adjustment steps.
Final Flight Check
Before the flight, check the balance one more time. Ensure all weights are secure. A final check prevents mid-air surprises. With balance verified, your plane is ready for flight.
Preventative Maintenance
Preventative maintenance is key to keeping your styrofoam RC plane in top shape. Regular checks can save you time and money. They also ensure your plane flies smoothly. By taking small steps now, you avoid major repairs later.
Inspect The Plane Regularly
Look at your RC plane before and after each flight. Check for cracks, dents, or loose parts. Address these issues promptly to prevent more significant problems. A quick inspection takes only a few minutes but makes a big difference.
Keep It Clean
Dirt and debris can damage your plane over time. Use a soft brush or cloth to remove dust. Ensure the aircraft is dry before storing it. Moisture can weaken styrofoam and affect flight performance.
Store Properly
Store your RC plane in a cool, dry place. Avoid direct sunlight, which can warp the styrofoam. Use a protective case to prevent accidental damage. Proper storage extends the life of your plane.
Tighten Loose Screws
Vibrations from flights can loosen screws. Check and tighten them regularly. This keeps your plane stable and secure. A simple screwdriver is all you need.
Balance The Propeller
A balanced propeller ensures smooth flights. Check for uneven wear or damage. Replace the propeller if needed. Proper balance reduces stress on the plane.
Check The Battery
Inspect the battery for signs of damage. Ensure it is not swollen or leaking. Charge the battery fully before each flight. This prevents unexpected power loss in the air.
Credit: www.instructables.com

Credit: teslaclub.sk
Frequently Asked Questions
How Do You Fix A Broken Styrofoam RC Plane?
To fix a broken styrofoam RC plane, use foam-safe glue. Clean the damaged area first. Apply the glue evenly. Hold the pieces together until set. For larger breaks, consider using reinforcing materials like fiberglass tape. Always ensure the repairs dry completely before flying again.
This ensures durability and safety.
What Type Of Glue Is Best For Styrofoam?
Foam-safe glue is best for repairing styrofoam RC planes. Avoid regular superglues, as they can dissolve foam. Foam-safe adhesives like UHU Por or Beacon Foam-Tac work well. These glues provide strong bonds without damaging the material. Always check the glue packaging to ensure it’s suitable for styrofoam materials.
Can You Paint Over Repaired Styrofoam?
Yes, you can paint over repaired styrofoam. Use foam-safe paints to avoid damage. Water-based acrylic paints are ideal for this purpose. Before painting, ensure the repaired area is smooth and clean. Apply primer for better paint adhesion if needed. Let the paint dry completely before using the RC plane.
How To Reinforce Weak Areas In Styrofoam Planes?
To reinforce weak areas in styrofoam planes, use fiberglass tape or carbon fiber rods. Apply the tape over vulnerable spots, securing with foam-safe glue. For added strength, insert carbon fiber rods into critical areas. This helps distribute stress and prevents future breaks.
Always test the plane’s balance after reinforcing.
Conclusion
Repairing a styrofoam RC plane can be rewarding and straightforward. Gather your tools and materials. Handle the plane gently to avoid further damage. Use glue to bond broken parts. Allow time for drying. Sand the surface smoothly for a clean finish.
Test the plane carefully before flying again. Practice regular maintenance to prevent future issues. With these tips, your aircraft will soar high once more. Keep enjoying your flying adventures. Happy repairing!