Diy Roses Heart Using A Cloth Bag: Craft a Romantic Gift
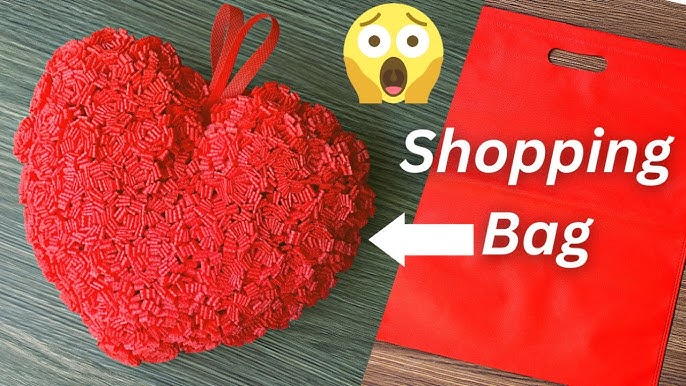
Imagine transforming something as simple as a cloth bag into a beautiful heart made of roses. It’s easier than you think, and you can do it right at home.
Creating DIY rose hearts not only brings a touch of elegance to your space but also offers a rewarding project for you to enjoy. Whether you’re looking to add a unique decoration to your home or create a heartfelt gift, this guide will walk you through every step.
You’ll discover how to turn everyday materials into stunning art, all while engaging your creativity and sparking joy. Get ready to dive into this exciting DIY adventure, where you’ll learn to make something truly special that reflects your personal style.
Materials Needed
Crafting a heart of roses from a cloth bag is a delightful project. This creation adds charm to any space and is a perfect gift. To begin, gather all necessary materials before you start crafting.
1. Cloth Bag
Choose a cloth bag with sturdy fabric. This will form the base of your heart. Ensure it’s clean and free from any wrinkles.
2. Scissors
Sharp scissors are vital for precise cutting. Make sure they’re suitable for cutting fabric.
3. Needle And Thread
You’ll need a needle and thread to sew your roses. Select a thread that matches or complements your cloth bag.
4. Fabric Roses
Gather fabric roses in your desired color. You can buy them or craft them from spare fabric.
5. Glue Gun
A glue gun helps secure the roses onto the cloth. Choose a glue that dries clear and holds strong.
6. Ribbon
Include a ribbon for hanging your heart. Pick a ribbon that matches your color scheme.
7. Marker
Use a marker to outline the heart shape on the bag. This ensures your arrangement is neat and symmetrical.
With these materials ready, you’re set to create a beautiful rose heart. Take your time, and enjoy the process!

Credit: www.youtube.com
Selecting The Right Cloth Bag
Creating a DIY roses heart with a cloth bag is a fun project. The cloth bag you choose can make a big difference. It’s important to pick the right one for the best results. Let’s explore how to select the perfect cloth bag for your project.
Choosing The Size
The size of the cloth bag matters. Small bags work well for compact designs. Larger bags allow for more roses and creativity. Think about the space where you’ll display your DIY heart.
Material Matters
Material affects the look and feel of your project. Cotton bags are soft and easy to work with. They are also affordable and widely available. Linen bags offer a more rustic, textured appearance.
Color Considerations
The color of the bag sets the tone. White or neutral colors let the roses stand out. Bright colors can add a playful touch to your design. Match the bag color with the roses for harmony.
Durability And Quality
Quality ensures your project lasts. A sturdy cloth bag prevents sagging or tearing. Check the stitching for strength. A well-made bag supports your design and keeps it intact.
Preparing The Roses
Creating a heart made of roses from a cloth bag is a delightful DIY project. First, you need to prepare the roses. This step is crucial for achieving a beautiful finish. It involves choosing fabric colors and cutting rose petals. Let’s dive into each part of this process.
Choosing Fabric Colors
Start with selecting the perfect fabric color. Bright colors like red or pink are ideal for roses. These colors mimic the look of real rose petals. Choose a fabric that contrasts well with the heart base. This contrast makes the roses stand out. Ensure the fabric is soft and easy to work with.
Cutting Rose Petals
Cutting rose petals requires precision and care. Use a template to trace petal shapes on the fabric. This ensures uniformity in size and shape. Sharp scissors are essential for clean cuts. Cut each petal carefully to avoid fraying edges. You need multiple petals for each rose. This layering creates a realistic rose effect. Arrange them before sewing to preview the final look.
Crafting The Roses
Transform a cloth bag into a charming rose heart with simple steps. Use scissors, thread, and creativity to craft beautiful rose shapes. This DIY project adds a touch of romance to any room or occasion.
Crafting roses from a cloth bag can be a delightful and creative experience. It’s an opportunity to transform something ordinary into a beautiful heart-shaped arrangement. Whether you’re a seasoned DIY enthusiast or a beginner, crafting these roses is a journey of discovery and expression. As you work through each step, you’ll find that every rose tells a unique story.
Assembling Petals
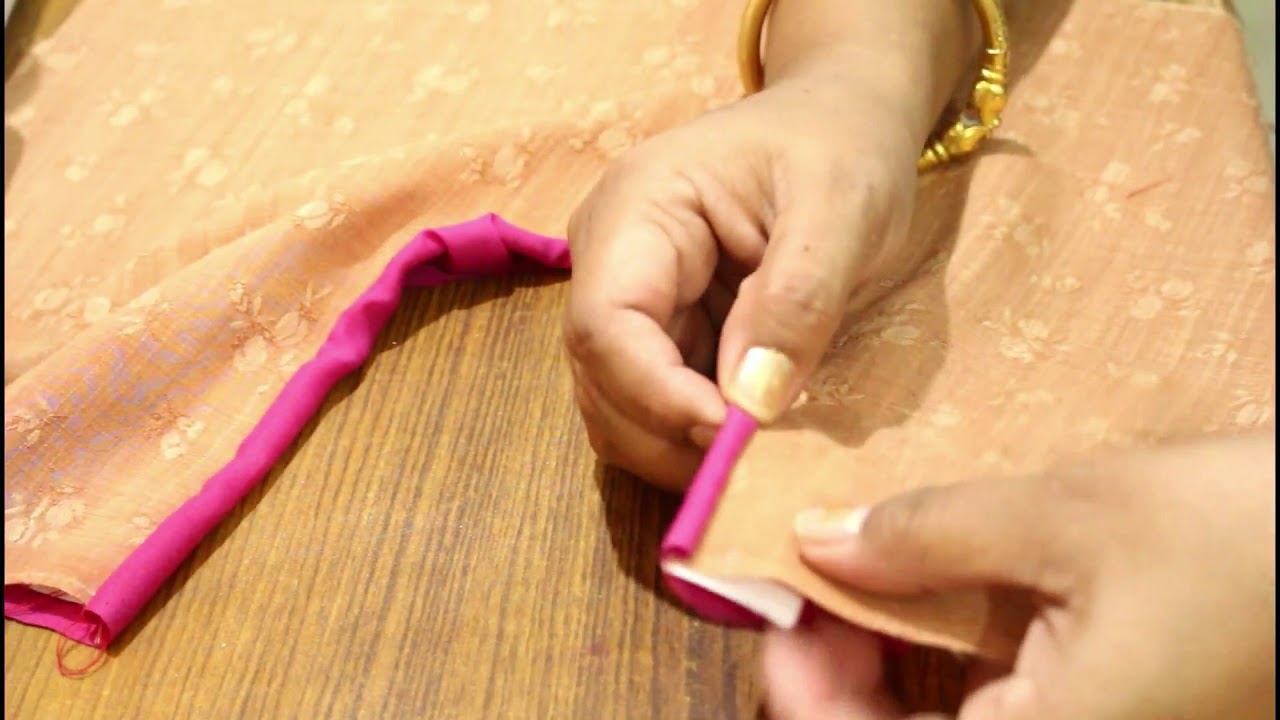
Start by cutting your cloth bag into strips. Each strip will become a petal, so aim for uniformity in size. Lay out your strips and envision how they will form a rose. It’s a bit like piecing together a puzzle. Roll each strip tightly at one end and loosely at the other. This creates the natural look of a rose petal.
Securing With Glue
Now, let’s bring your rose to life. Apply a small dot of glue to the tight end of each strip. Attach petals, building the rose layer by layer. It’s like watching a flower bloom in slow motion. Press each section gently to ensure they stick. Wondering if your rose will hold? It’s all about the glue’s grip. Crafting roses can seem daunting, but each step is a chance to refine your skills. What unique twist will you add to your rose design?
Forming The Heart Shape
Craft a beautiful heart shape using a simple cloth bag and DIY roses. This easy project adds charm to your decor. Perfect for beginners, it’s a fun way to express creativity.
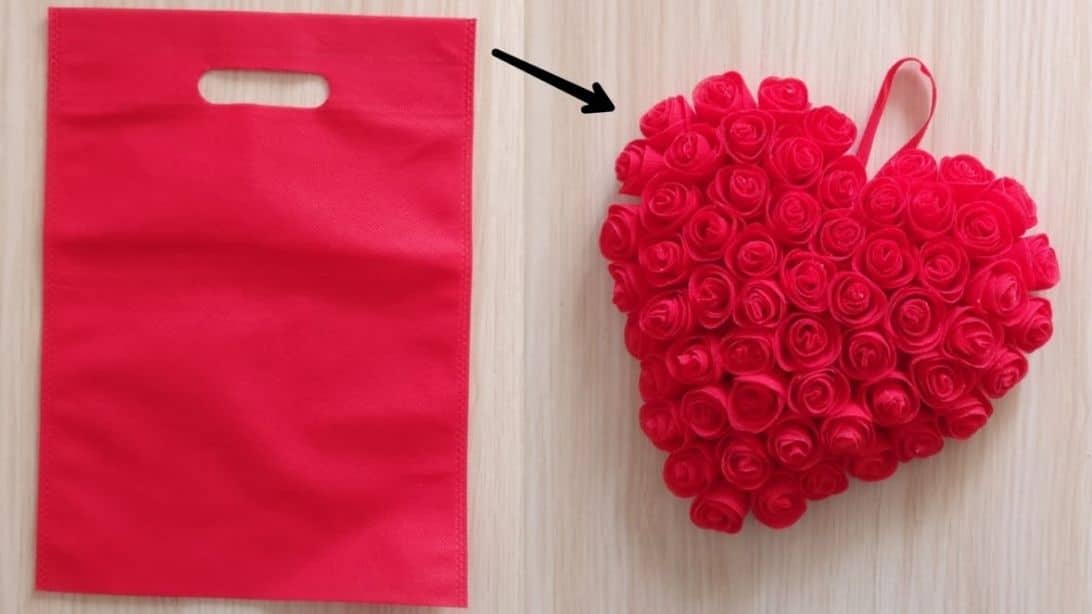
Creating a heart-shaped decoration using a cloth bag and roses can add a touch of elegance to your home. This DIY project is perfect for special occasions or just to brighten up your space. The key to success lies in forming a perfect heart shape that captures attention and draws admiration.
Arranging Roses
Begin by laying out your roses on a flat surface. Visualize the heart shape you want to create and arrange the roses accordingly. A good tip is to start from the center and work your way out, ensuring each rose is evenly spaced. Think about the colors and sizes of your roses. Mixing different shades can create a stunning contrast. You can also use roses of varied sizes to add depth and dimension to your heart shape. Don’t hesitate to adjust the roses as you go. It’s your design, and flexibility is essential. Do you prefer a tightly-packed heart or a more loosely arranged one? The choice is yours.
Creating A Symmetrical Design
Symmetry is crucial for a balanced heart shape. Once you’ve arranged your roses, step back and assess the overall look. Are both sides of the heart equally filled? Use a ruler or tape measure if needed to ensure each side mirrors the other. This simple tool can make a significant difference in achieving that perfect symmetry. Adjust the roses as necessary until you’re satisfied with the balance. A symmetrical design not only looks pleasing but also highlights your attention to detail. It shows that you care about the little things. Have you ever noticed how symmetry draws the eye and creates harmony?
It’s worth the effort. By focusing on these aspects, you can create a beautiful heart shape with roses that stands out. Enjoy the process and let your creativity shine.
Credit: diyjoy.com
Attaching Roses To The Bag
Create a charming rose heart on a cloth bag with simple DIY steps. Attach fabric roses to form a heart shape, adding a personal touch to your accessories. This easy project transforms a plain bag into a lovely keepsake.
Attaching roses to a cloth bag can transform a simple accessory into a stunning piece of art. You might be wondering how to achieve this without the roses falling off or looking out of place. With the right techniques, you can ensure your design is both durable and visually appealing. Let’s explore methods for making your DIY rose heart a masterpiece.
Placement Techniques: Strategic placement is key to creating a balanced and aesthetically pleasing design. Start by imagining a heart shape on your cloth bag. You can lightly outline using a fabric marker for guidance. Consider the size of the roses. Larger roses can be placed at the center of the heart, while smaller ones can fill the edges. This variation in size adds depth and dimension. Think about color contrast. If you’re using multiple shades of roses, alternate colors to create a captivating pattern. This not only enhances visual appeal but also keeps the heart shape distinct.
Stitching or Gluing: Decide between stitching or gluing based on your comfort and the durability you desire. Stitching provides a secure attachment, ensuring the roses remain fixed over time. Use a needle and strong thread, preferably in a color that matches the bag or roses. This method requires patience but rewards with longevity. Alternatively, gluing is quicker and simpler. Choose a fabric adhesive suitable for the material of your bag and roses. Apply a small amount to the base of each rose before pressing it onto the bag. Hold it in place for a few seconds to ensure it sticks.
Ask yourself: which technique suits your style and skills better? Stitching offers a classic touch, while gluing provides convenience. Both methods can achieve a beautiful result, so choose what feels right for you. Attaching roses to your bag is more than just a craft project; it’s an opportunity to express creativity. Whether you stitch or glue, remember that this is your unique creation. Make it personal, and enjoy the process!
Adding Personal Touches
Crafting a heart with DIY roses using a cloth bag adds a personal touch to your decor. This simple project combines creativity and elegance, making your space uniquely yours. Perfect for gifts or home accents, it blends handmade charm with heartfelt sentiment.
Adding personal touches to your DIY Roses Heart adds charm and uniqueness. Simple additions can transform a plain cloth bag into a beautiful piece. These touches reflect your style and make your creation stand out. Let’s explore some creative ways to enhance your DIY Roses Heart.
Incorporating Ribbons Or Lace
Ribbons add elegance to your roses heart. Choose colors that complement your fabric. Soft pastels or vibrant hues can create different effects. Lace adds a vintage feel. It brings texture and depth to your design. Attach it around the edges for a delicate border. You can also tie a bow for a sweet touch.
Embroidery Options
Embroidery adds a personalized element to your project. Stitch initials or a meaningful word on the cloth bag. Choose embroidery thread colors that match or contrast. Consider small floral patterns or simple shapes for added flair. Embroidery makes your DIY Roses Heart more special and memorable.
Final Touches And Care
Add final touches to your DIY roses heart by carefully arranging the petals. Ensure vibrant colors and neat edges. Regularly dust and gently clean to maintain its beauty.
Creating a heart-shaped decoration with roses using a cloth bag is a delightful craft project that adds a personal touch to your space. As you approach the final stages, it’s essential to focus on those last details that will make your creation truly shine. Paying attention to the finishing touches and knowing how to care for your craft will ensure it remains beautiful for a long time.
Inspecting For Loose Ends
Before you declare your project complete, take a moment to inspect your creation. Look closely at the edges and seams of the cloth bag. Are there any threads sticking out or loose roses that need securing? Consider using a small dab of hot glue to secure any unruly threads or petals. This will not only tidy up your craft but also add longevity to your design. A quick once-over can make a significant difference in the overall appearance.
Maintaining The Craft
Once your DIY rose heart is complete, you’ll want to ensure it stays in top condition. Think about where you plan to display it. Is it exposed to direct sunlight or moisture? To maintain its vibrancy, avoid placing it in areas with high humidity or direct sunlight, which can fade the colors over time. Consider dusting it gently with a soft cloth to keep it looking fresh. Engage with your craft regularly. Move it around your space to see how it looks in different lighting. You might find a new favorite spot for it that you hadn’t considered before. Have you thought about how this craft could be a perfect gift?
Share your experience and inspire someone else to create their own. The joy of crafting is often multiplied when shared with others. By taking these simple steps in the final touches and care of your DIY roses heart, you’ll enjoy a beautiful piece that adds warmth and charm to your home.
Gift Presentation Ideas
Craft a charming gift by creating a heart shape with DIY roses from a cloth bag. This thoughtful presentation adds a personal touch, making any occasion memorable. It’s simple yet elegant, perfect for expressing your love and creativity.
Presenting a gift is an art in itself, especially when you’re giving something as unique as a DIY roses heart crafted from a cloth bag. How you present your gift can enhance the recipient’s excitement and appreciation. Let’s dive into some delightful gift presentation ideas that will make your thoughtful creation even more memorable.
Creative Wrapping
Think outside the traditional wrapping paper. Use materials that add a personal touch and complement your DIY roses heart. Consider wrapping your creation in a sheer fabric that allows a sneak peek at the beautiful roses. Tie the ends with a colorful ribbon to add a pop of color. You might also use a basket filled with dried petals or potpourri, placing your DIY heart on top. This not only looks stunning but also adds a delightful fragrance. What are some unusual wrapping materials you’ve tried in the past?
Including A Personal Note
A personal note can transform your gift from special to unforgettable. It’s a chance to express your feelings and the thought behind your DIY project. Keep your message sincere. Perhaps share why you chose to create the rose heart or a cherished memory related to the recipient. Use a card that matches the theme of your gift, maybe one with floral designs. Have you ever received a note that made a gift truly special?
By focusing on these thoughtful gift presentation ideas, you can enhance the joy and surprise of giving your DIY roses heart. Your creativity and sincerity will surely shine through, leaving a lasting impression.
Credit: diyjoy.com
Frequently Asked Questions
How To Make A Roses Heart From A Cloth Bag?
To create a roses heart from a cloth bag, cut the bag into heart shapes. Attach artificial roses using fabric glue. Ensure roses are evenly spaced for a full appearance. Choose contrasting colors for an elegant look. Hang your DIY heart using ribbon for display.
What Materials Are Needed For A Diy Roses Heart?
You’ll need a cloth bag, artificial roses, fabric glue, scissors, and ribbon. Ensure the cloth bag is sturdy. Choose high-quality artificial roses for a realistic effect. Use fabric glue for strong adhesion. Ribbon is optional for hanging the heart.
Can I Use Real Roses For My Diy Heart?
Using real roses isn’t recommended. They wilt quickly and can stain the fabric. Artificial roses maintain their shape and color. They provide a long-lasting decor option. Choose high-quality artificial roses for a realistic appearance.
How Long Does The Diy Project Take?
This DIY project typically takes one to two hours. Cutting and gluing require precision and patience. Ensure glue dries completely before handling. Allocate time for arranging roses evenly. Enjoy the process for best results.
Conclusion
Creating a roses heart from a cloth bag is simple and fun. It adds a personal touch to your home decor. This DIY project is budget-friendly and easy to follow. You need just a few materials and some creativity. Perfect for special occasions or everyday charm.
Share this delightful craft with friends and family. Inspire others to try their hands at this enjoyable activity. Enjoy the beauty and warmth it brings to your space. A handmade roses heart speaks volumes of love and care. Try it today and let your creativity bloom!